보조 임무 - 자유 공략
파이티티 지역의 보조 임무 중 하나인 '자유'의 공략입니다. 스토리를 진행하여 해골 동굴을 해금해야 퀘스트의 수주가 가능해집니다. 퀘스트를 클리어하면 보상으로 의상 조각을 받을 수 있습니다.
섀도우 오브 더 툼레이더 동영상 공략
파이티티 (비밀의 도시) - 기타 보조 임무 링크
수주 방법
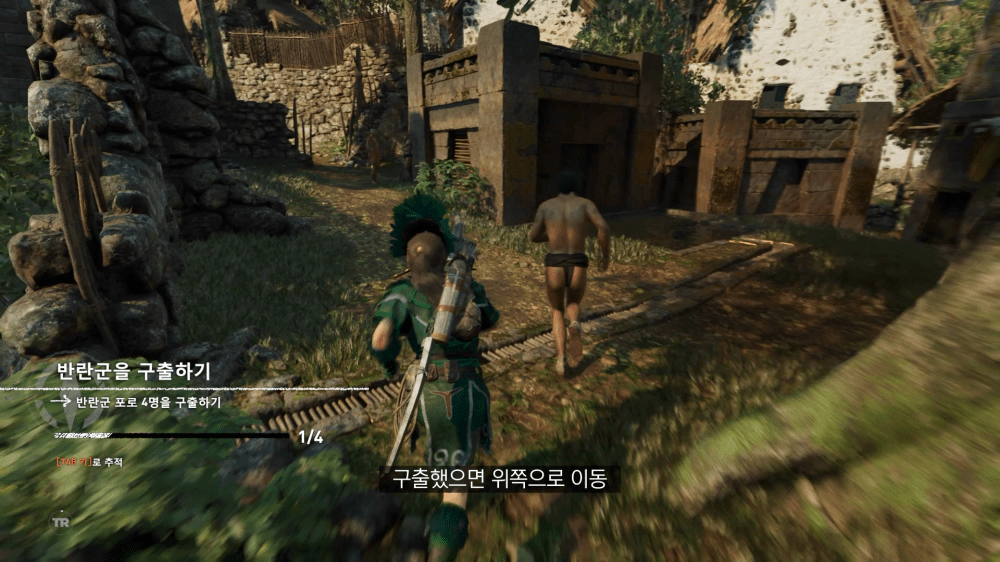
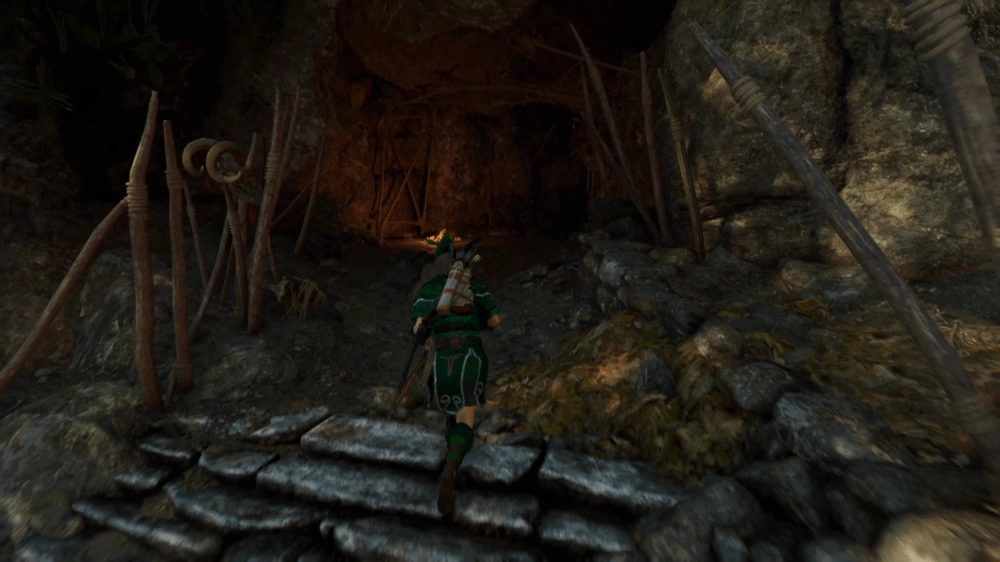
시작 위치: 해골 동굴
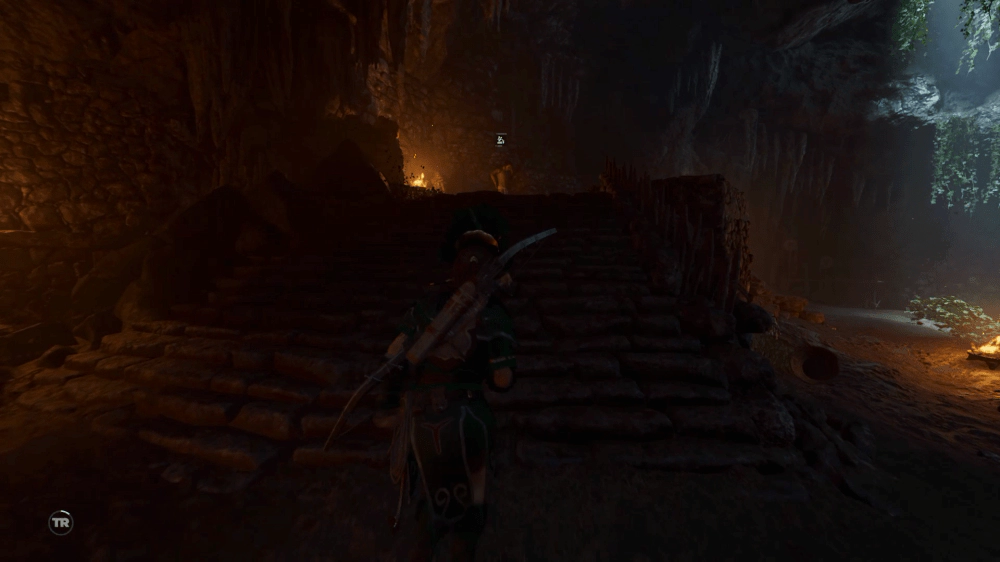
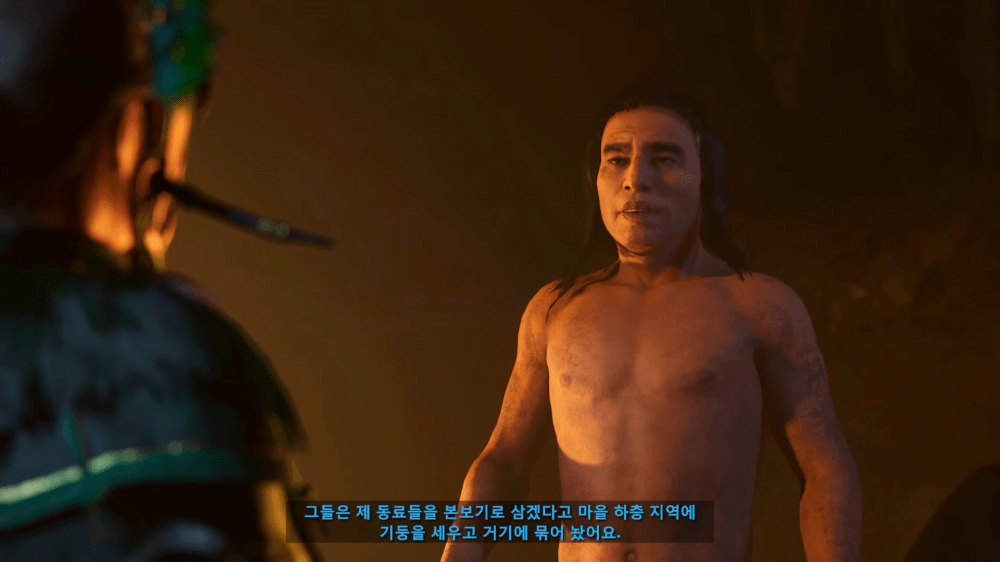
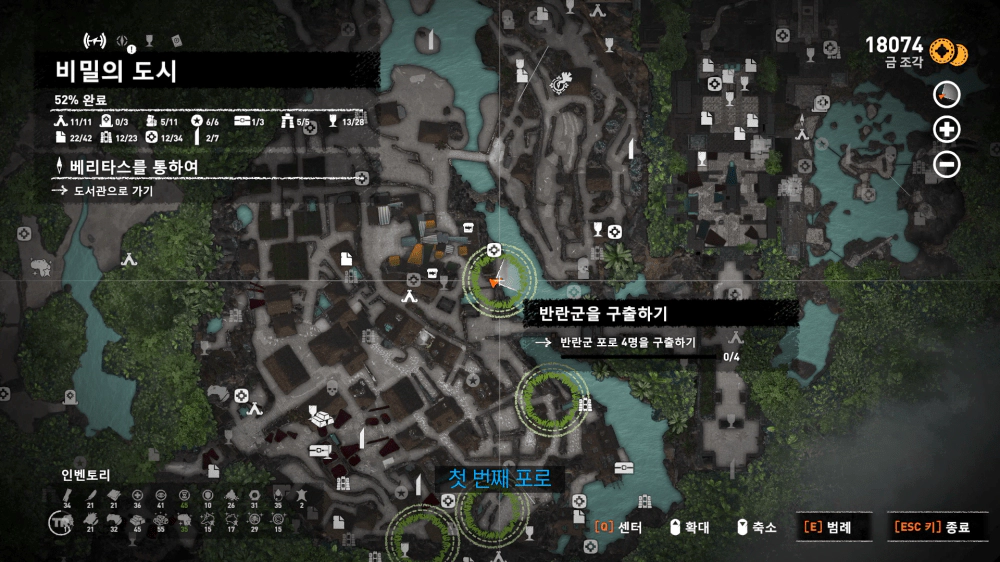
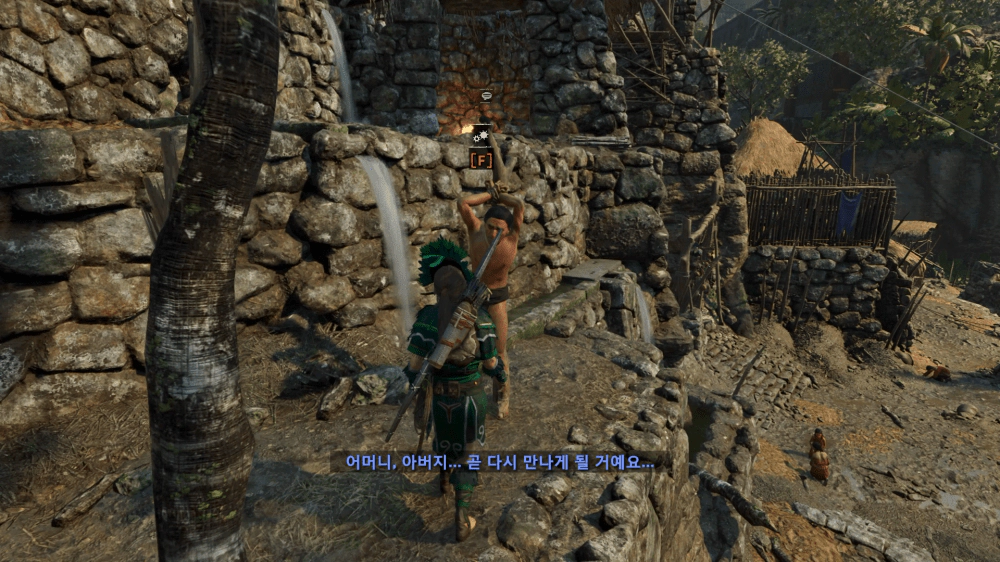
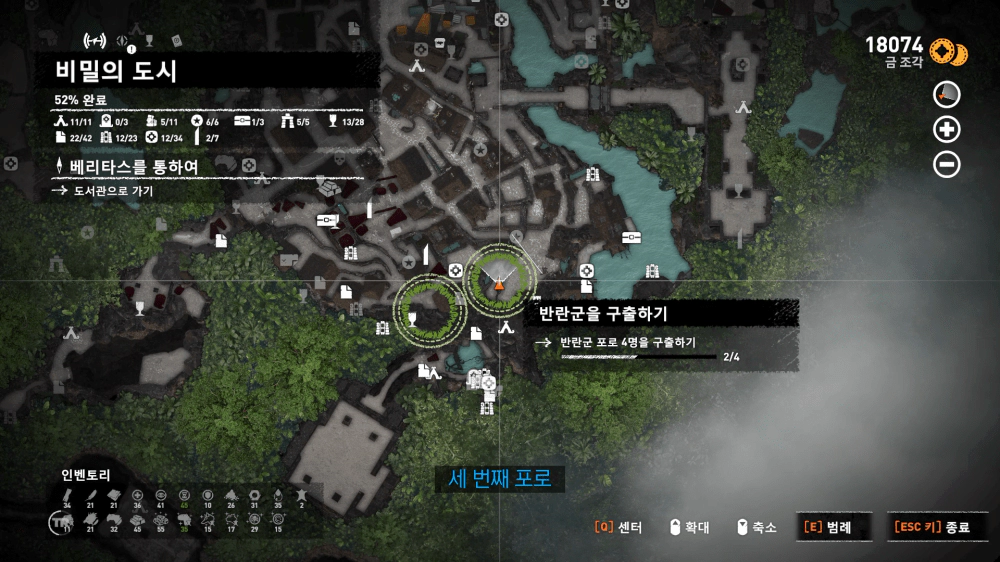
해골 동굴의 계단 위로 올라가면 위에 있는 반란군에게 말을 걸어 퀘스트를 받습니다. 마을 하층 지역 어딘가에 기둥에 묶여있는 반란군 포로들을 구출하면 됩니다.
자유
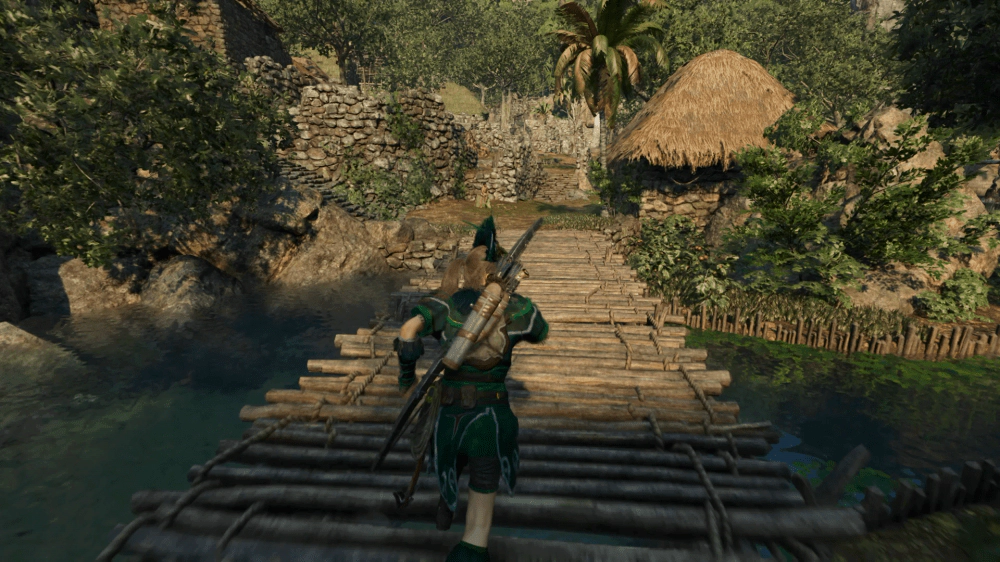
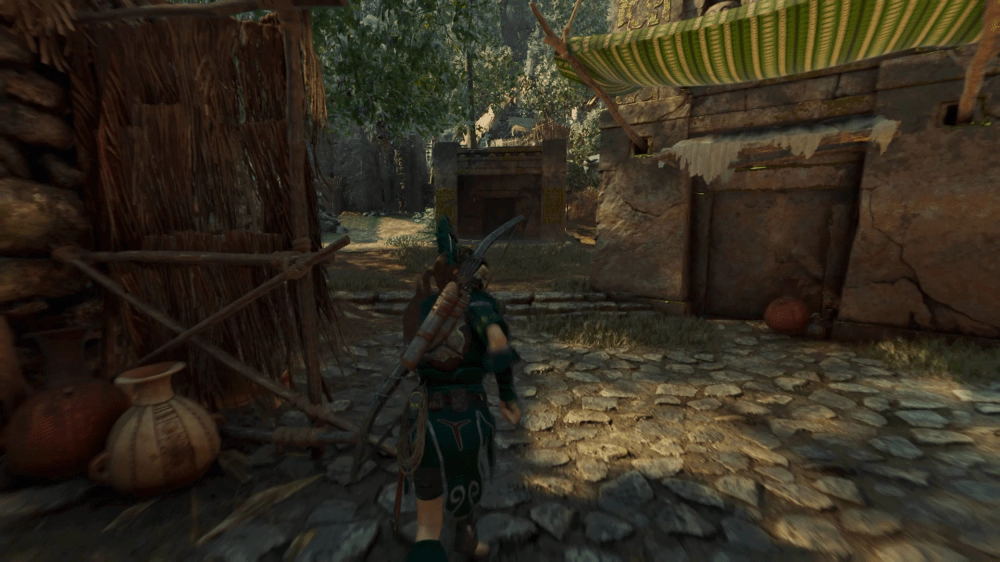
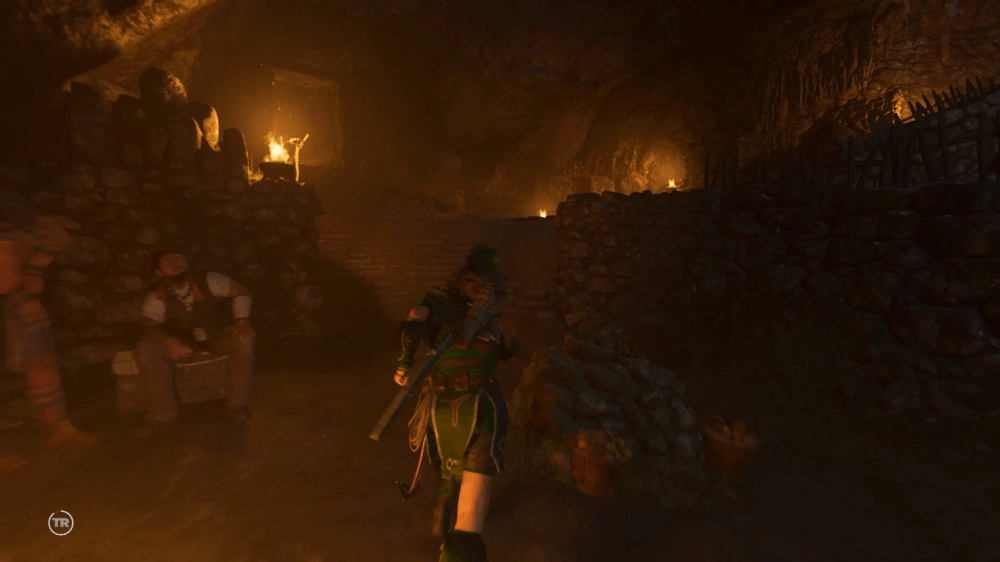
해골 동굴 밖으로 나와서 아래의 물가를 다리로 건너서 시장 쪽을 가로 질러갑니다.

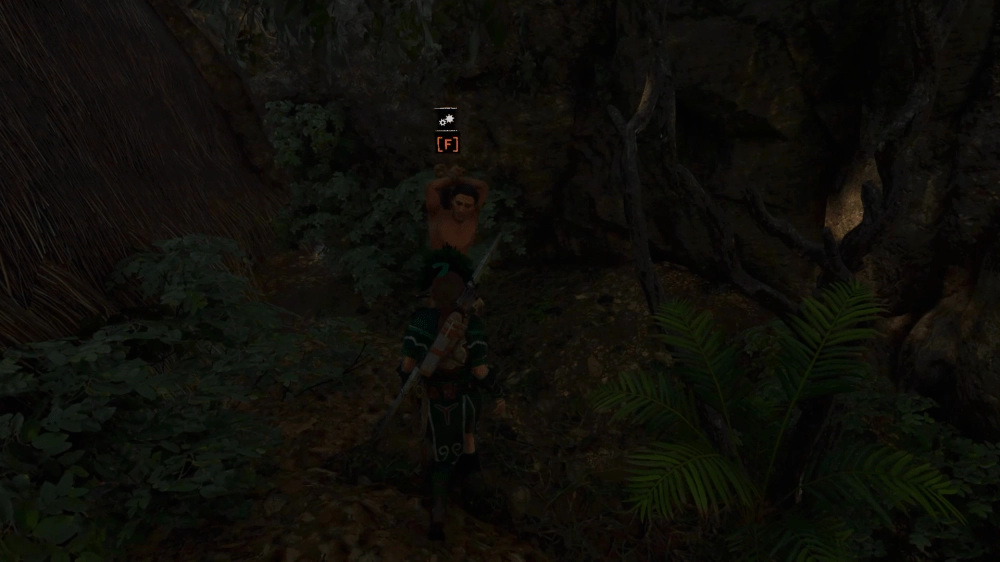
시장을 지나면 벽에 나무 한 그루가 기대듯이 서있는 장소가 있는데, 나무에 가려진 부분에 반란군 포로가 있습니다.
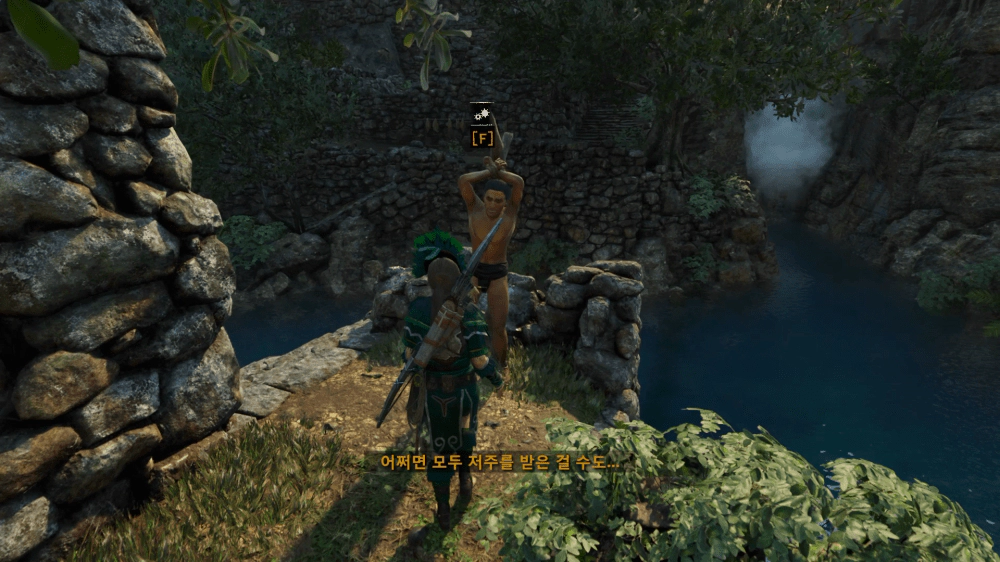
근처에 가면 포로들이 횡설수설하는 소리를 들을 수 있으므로 찾는 것이 그리 어렵진 않습니다.
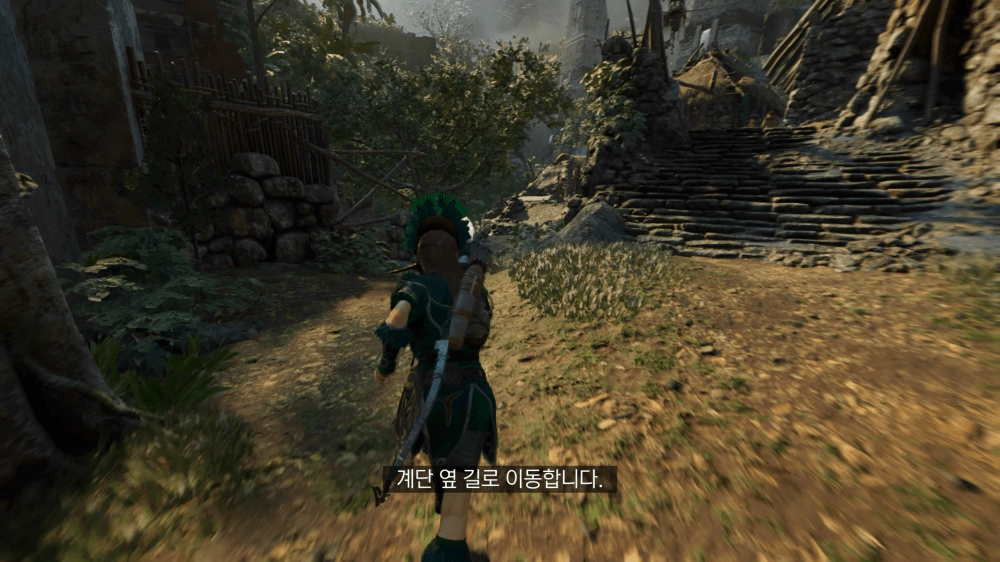
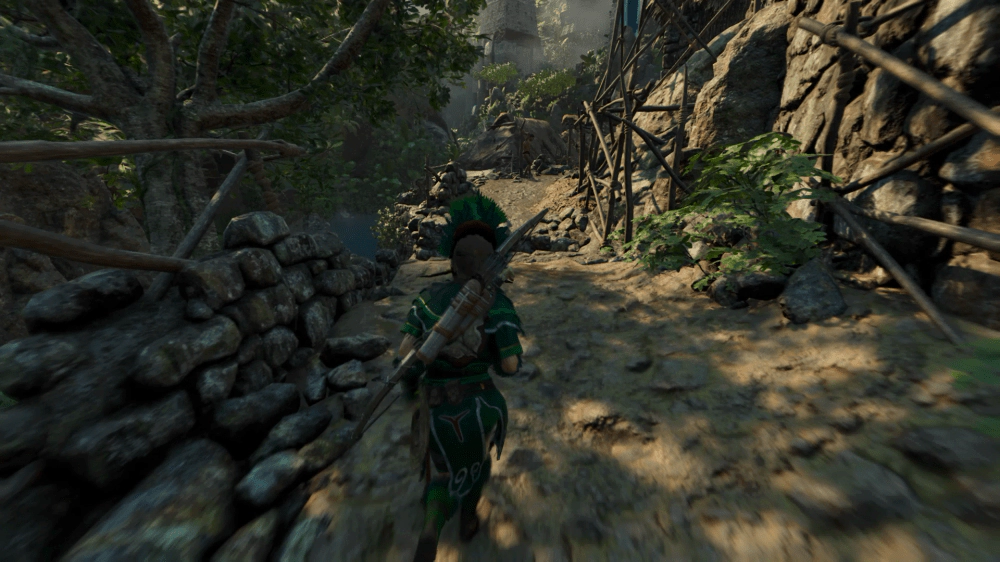
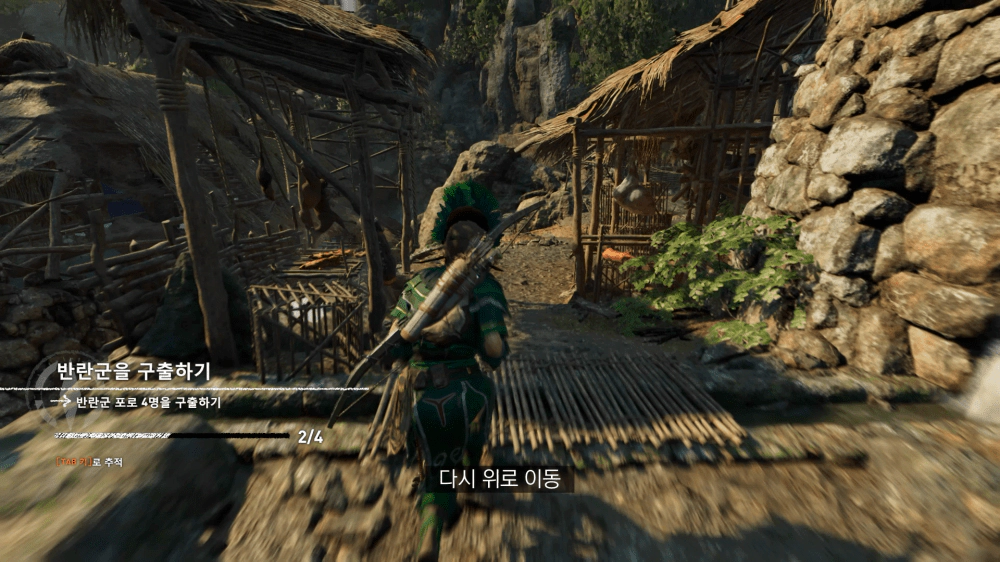
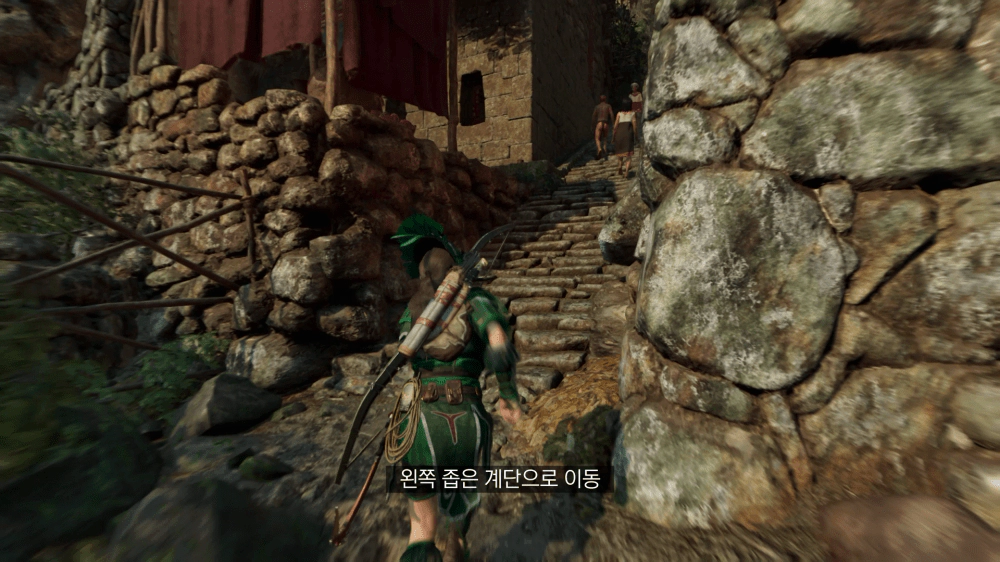
구출하고 가던 방향으로 이동하다보면 계단이 나오는데 계단 왼쪽의 길로 갑니다.
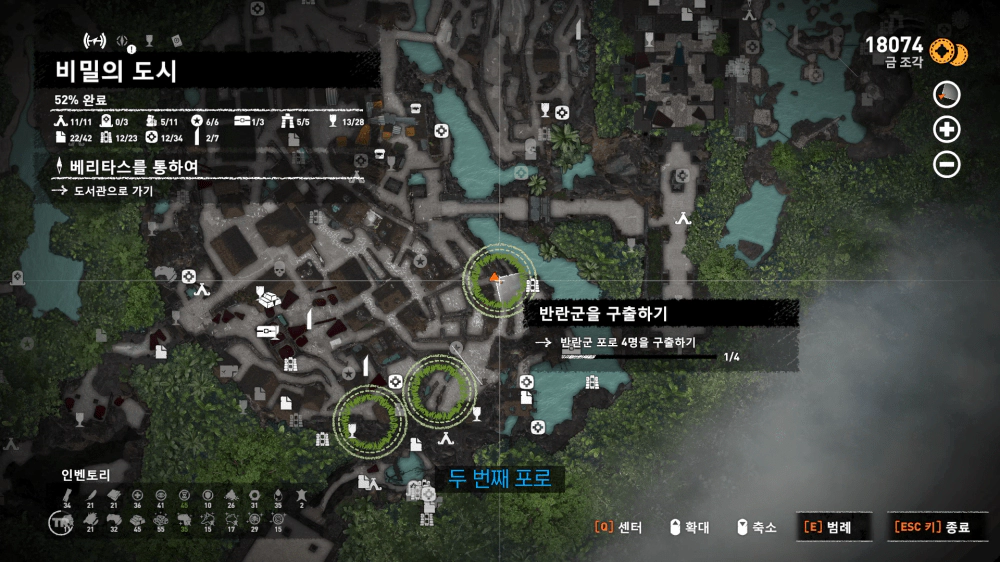
두 번째 포로를 구출.
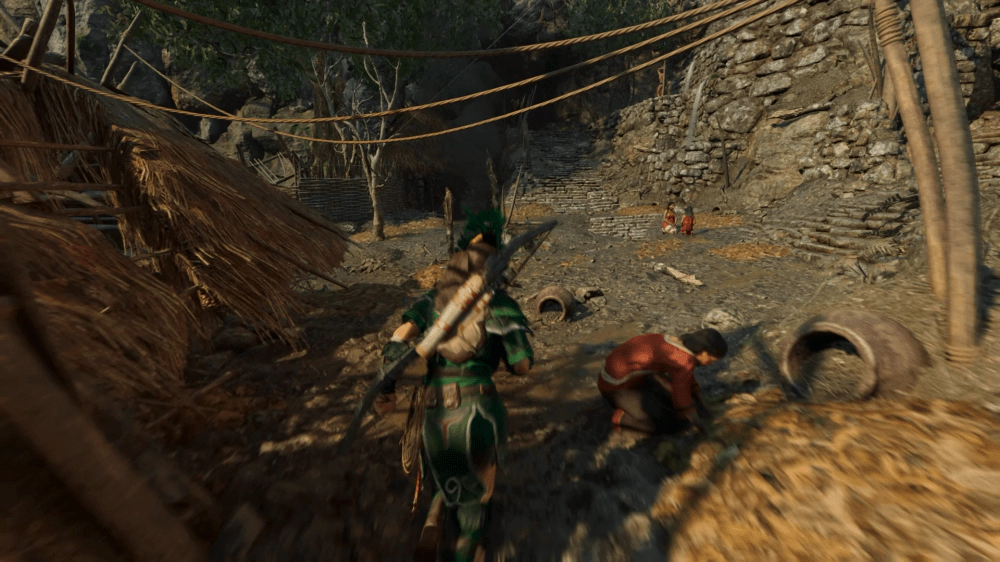
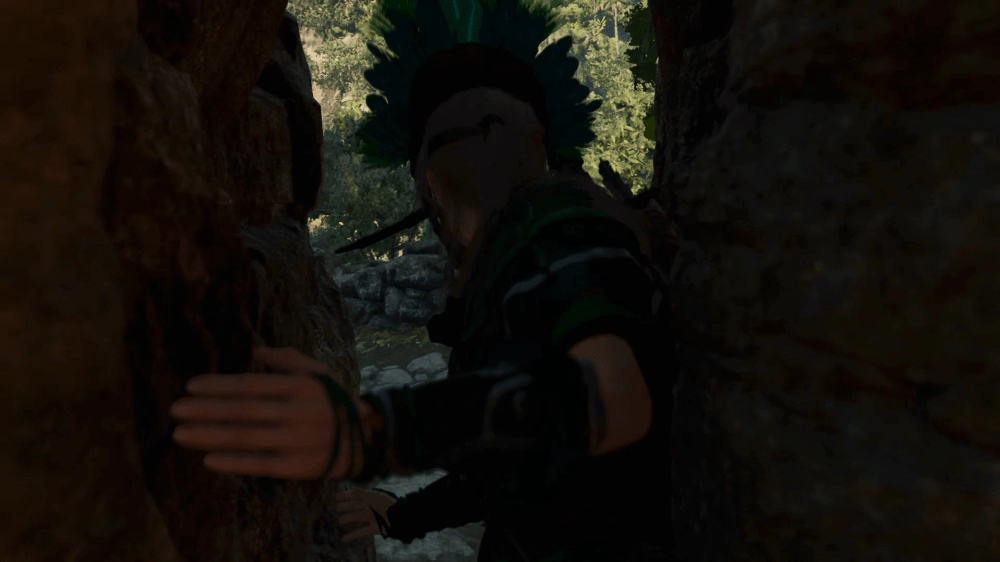
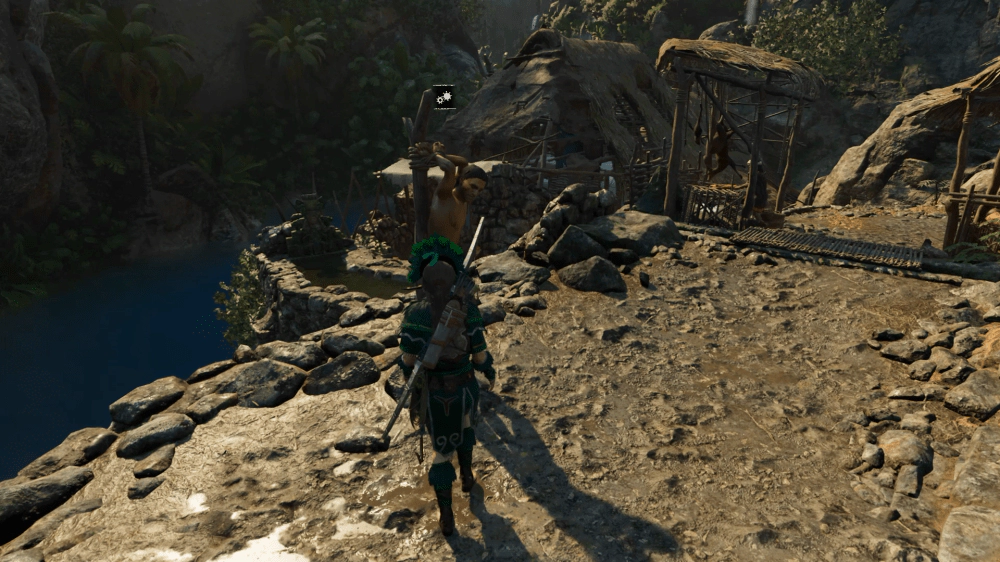
다시 위쪽으로 이동해서 마을 동굴로 들어가기 전 옹벽 쪽에 묶여있는 포로를 볼 수 있습니다.
세 번째 포로 구출.
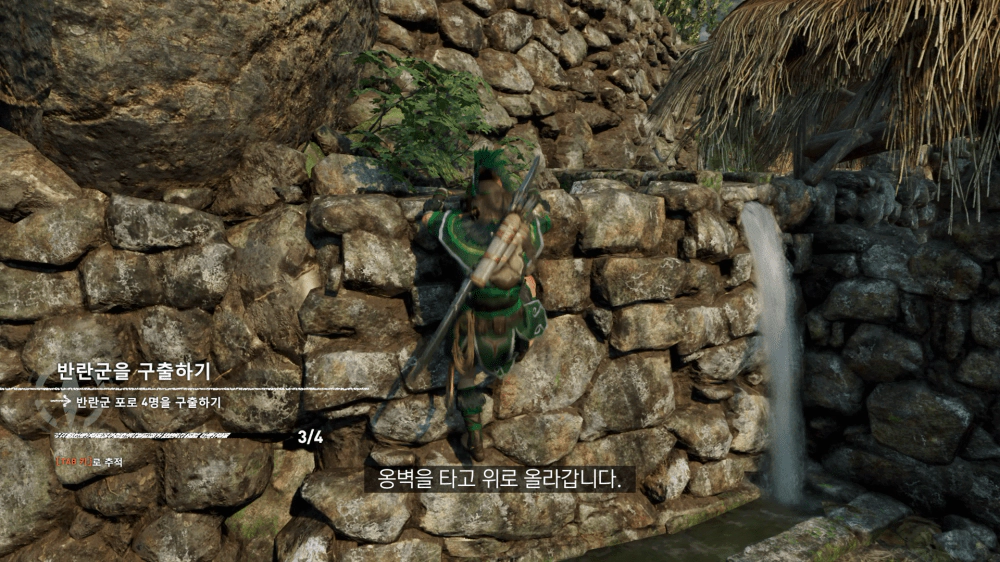
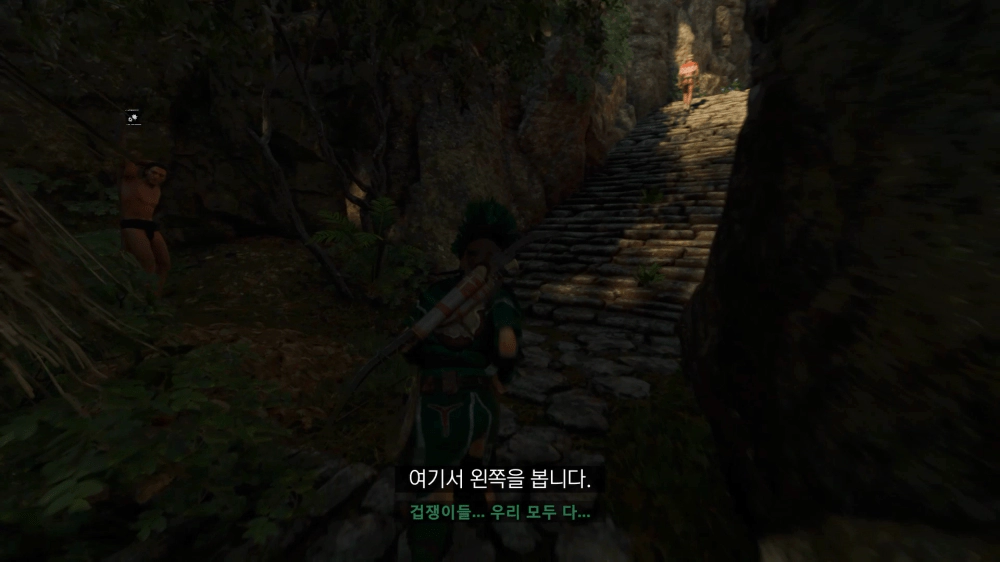
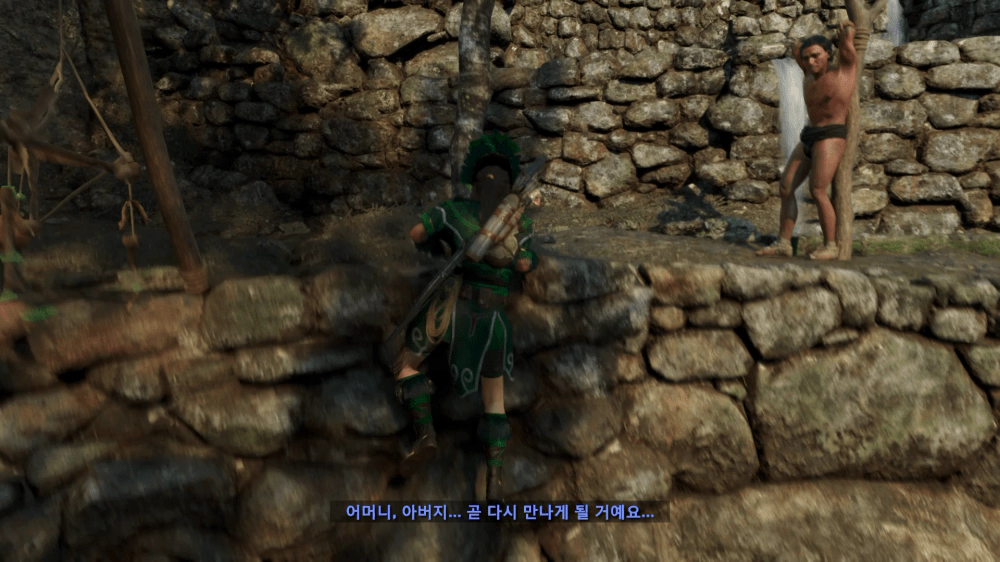
옹벽을 타고 올라간 뒤, 왼쪽의 좁은 계단을 올라가다 중턱에서 왼쪽에 반란군이 묶여있는 걸 확인할 수 있습니다.
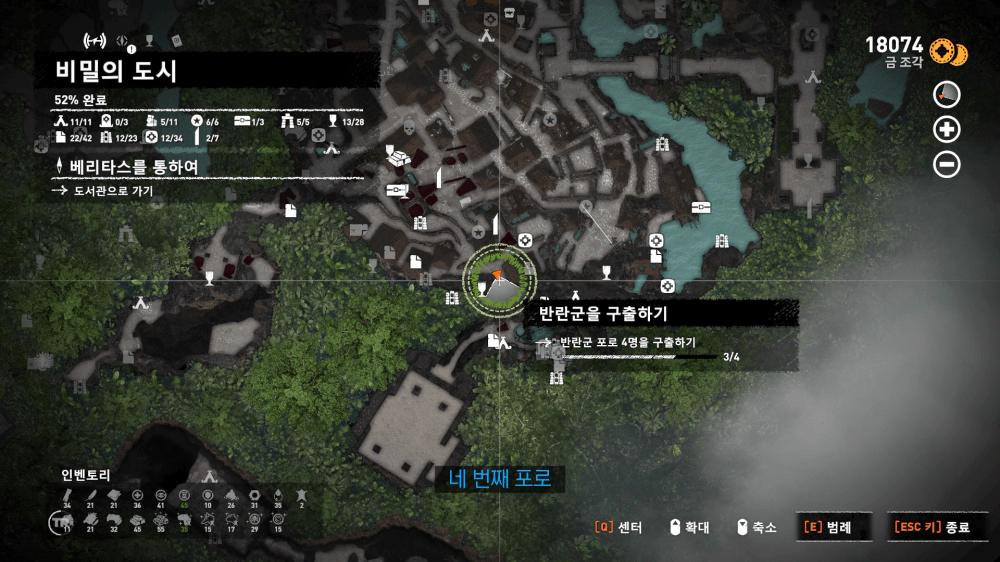
네 번째 포로 구출.
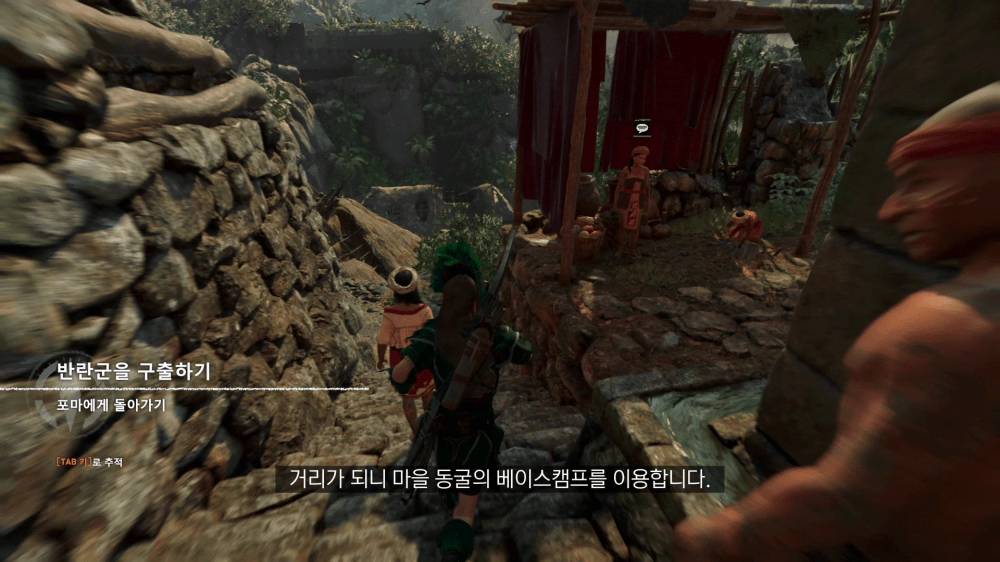
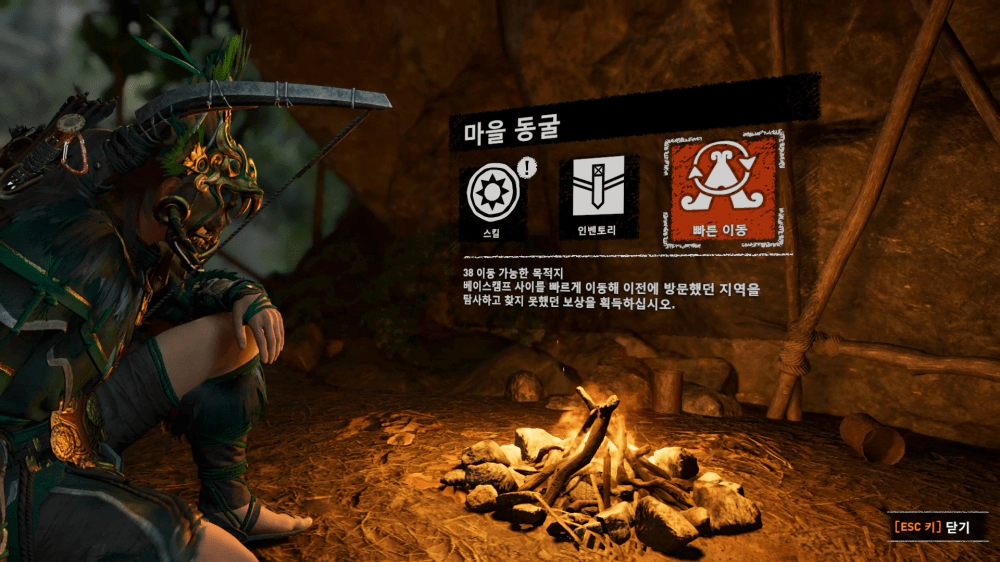
이제 해골 동굴로 돌아가야하는데, 거리가 꽤 되니 아래의 마을 동굴로 들어가 베이스캠프로 빠른 이동을 하면 더 쉽고 빠르게 이동할 수 있습니다.
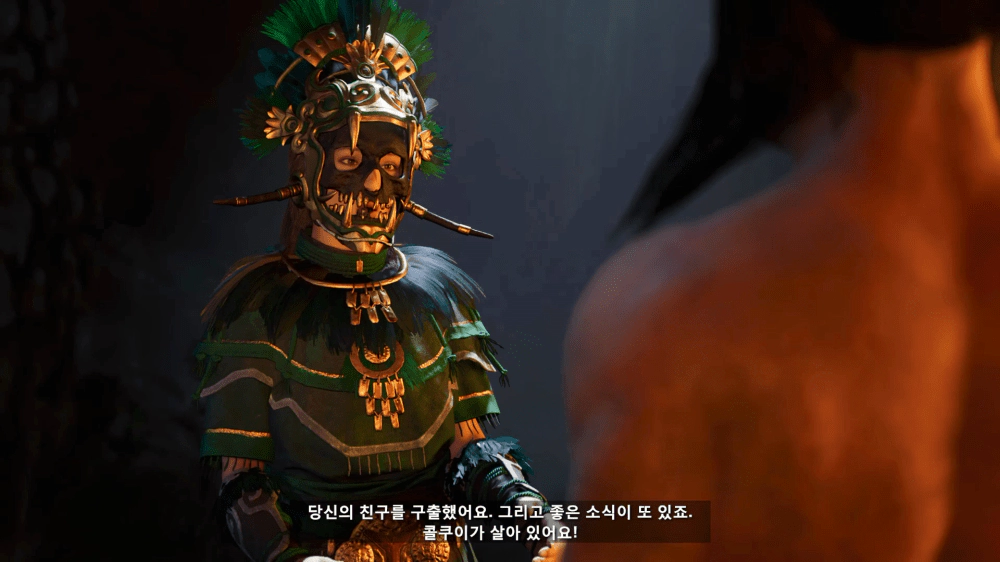
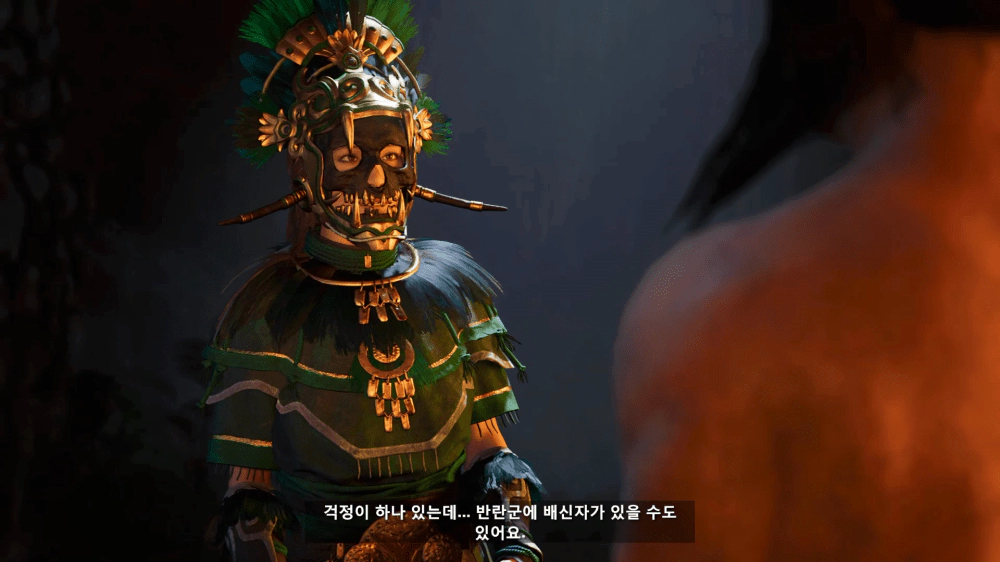
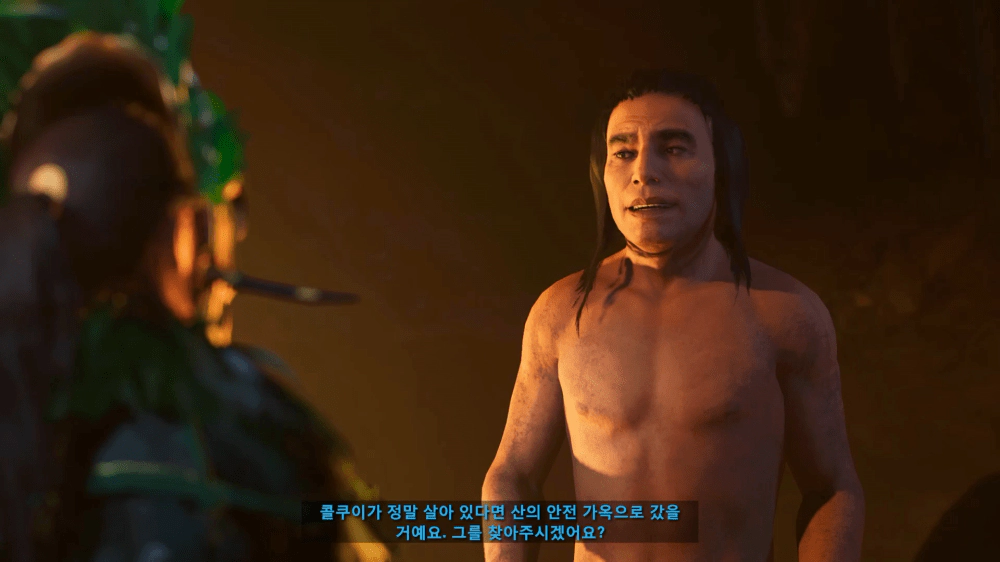
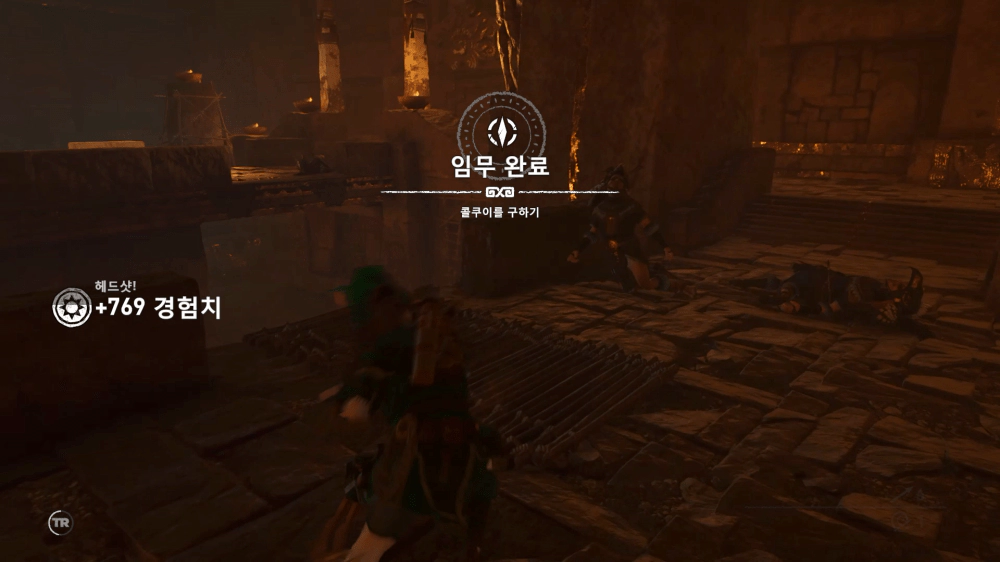
보고를 하면 반란군 한 명이 산의 안전 가옥으로 대피했을 거라면서 구해달라고 합니다. 이번에도 베이스 캠프를 이용해 빠른 이동을 합시다. 목적지는 사원의 길.
이번에는 전투가 벌어지므로 미리 준비를 해놓고 가는 것이 좋습니다. (의상, 화살 충전 등)
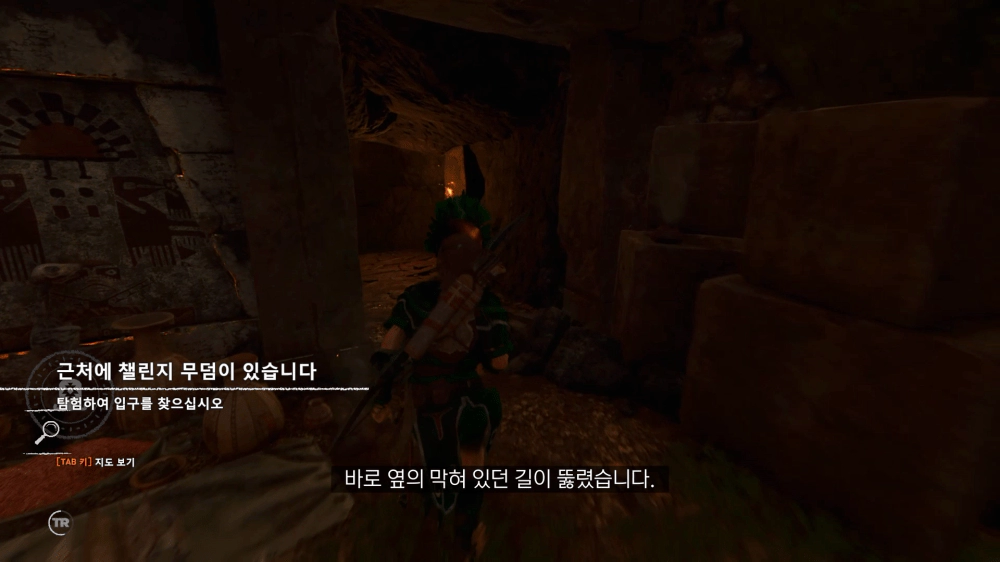
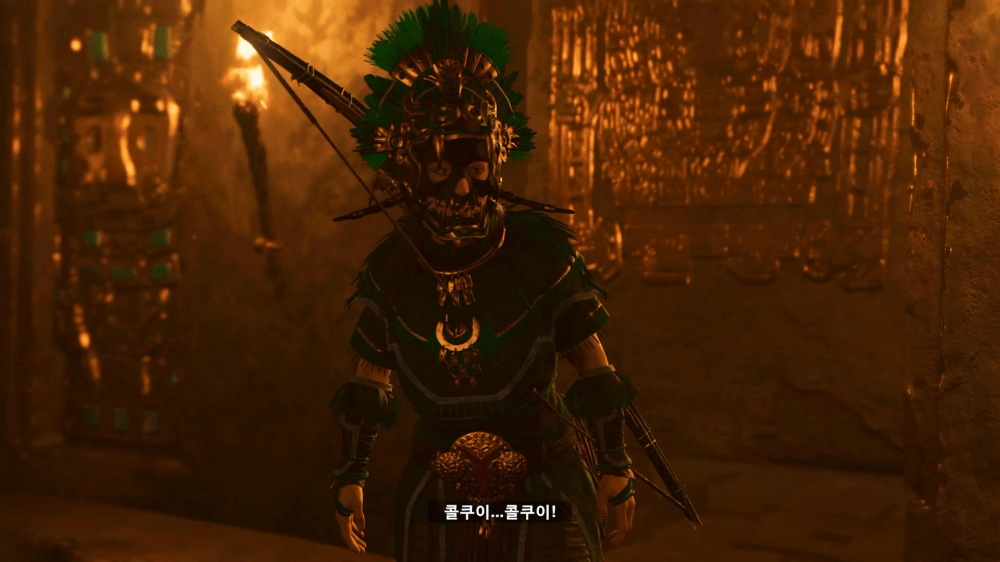
베이스캠프 옆의 막혀있던 길이 열려있습니다. 안으로 들어가면 컷신 이후에 전투가 벌어집니다.
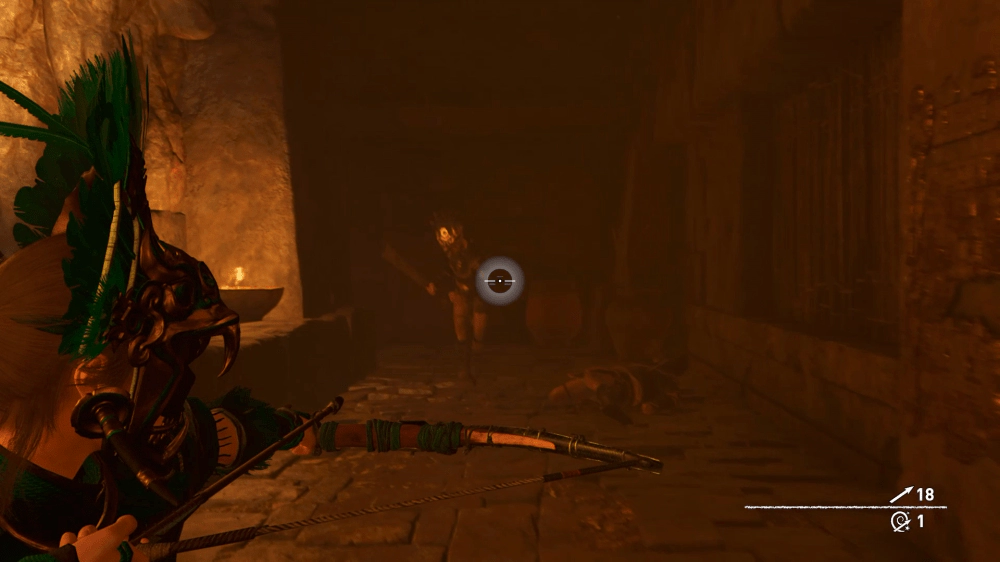
상당히 많은 수의 전사들이 몰려오는데, 먼저 궁수들을 처리하고 달려드는 전사들을 처리합니다. 주변의 기름단지 등을 적절히 터트리면서 전투하면 한결 쉽게 클리어할 수 있습니다.