챌린지 무덤 - 생명의 나무 공략
산 후안 수도원 지역에 존재하는 두 개의 챌린지 무덤 중 하나인 생명의 나무입니다. 해당 구역에서는 퍼즐보다는 야실 부족과의 전투가 주로 발생합니다. 또한 불화살을 많이 사용하므로 재료는 충분히 준비하고 오시는 것이 좋습니다. 무덤 내부에서도 구할 수는 있지만 번거로우니까요.
섀도우 오브 더 툼레이더 동영상 공략
산 후안 수도원 - 기타 공략 링크
입장 방법
시작 위치: 폐허가 된 탑 베이스캠프
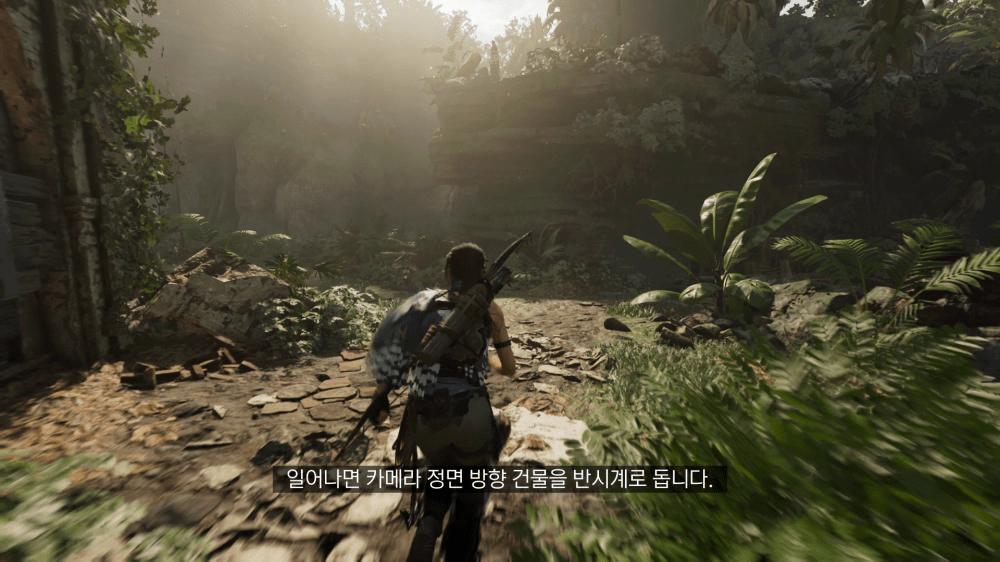
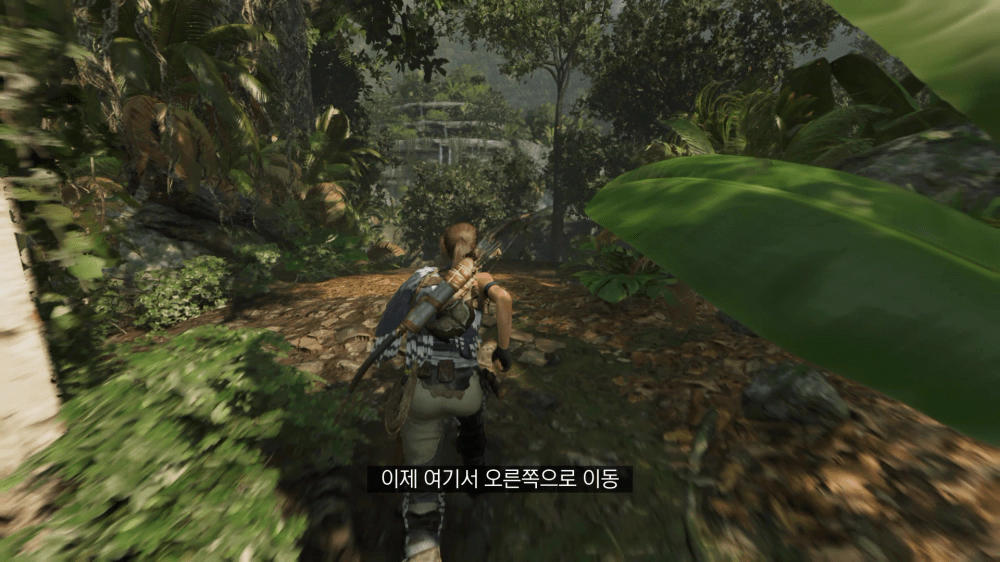
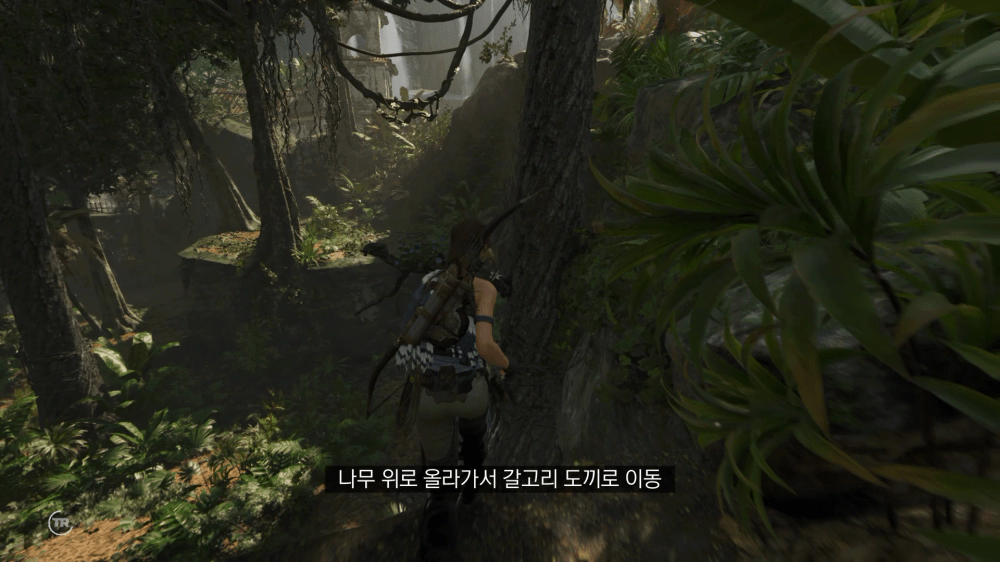
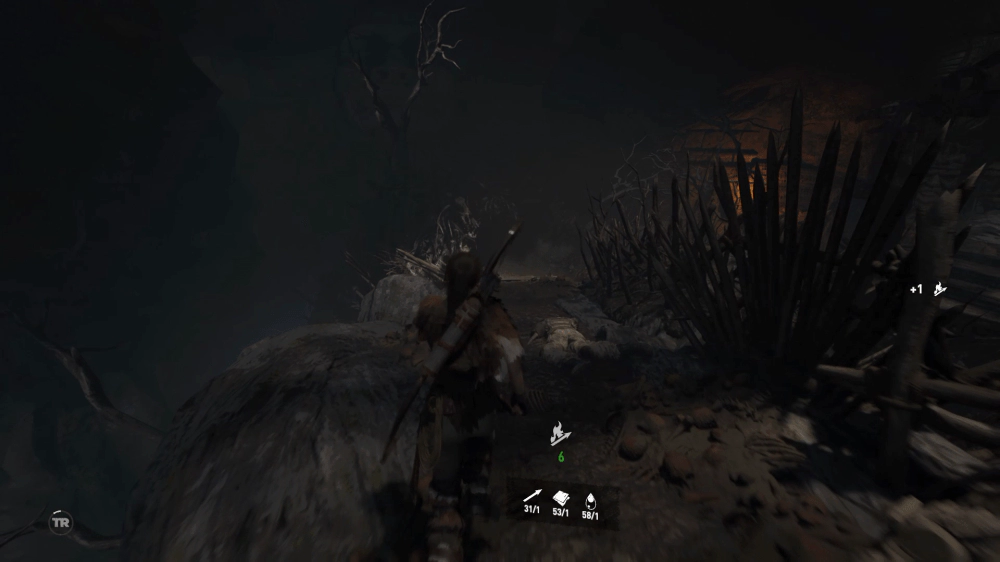
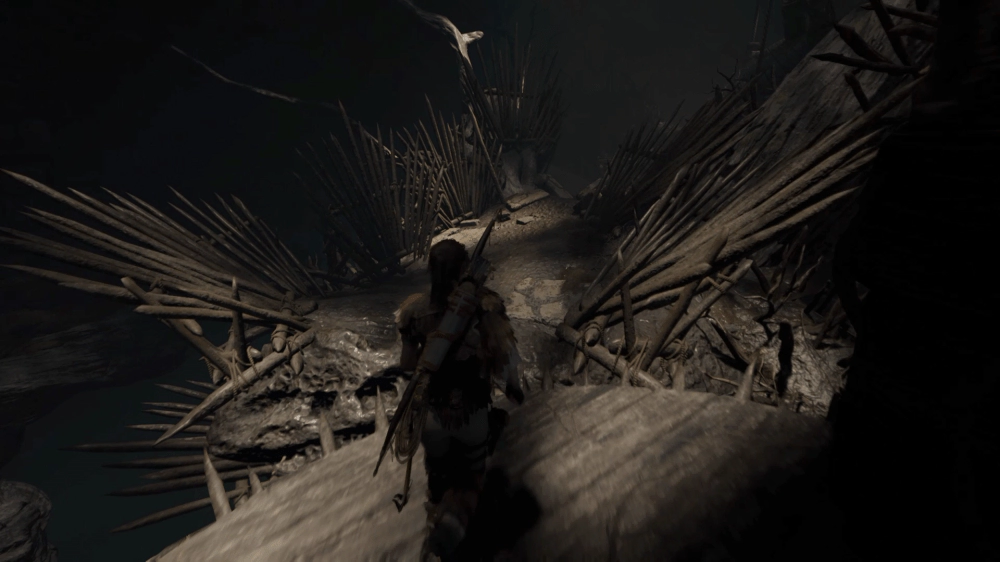
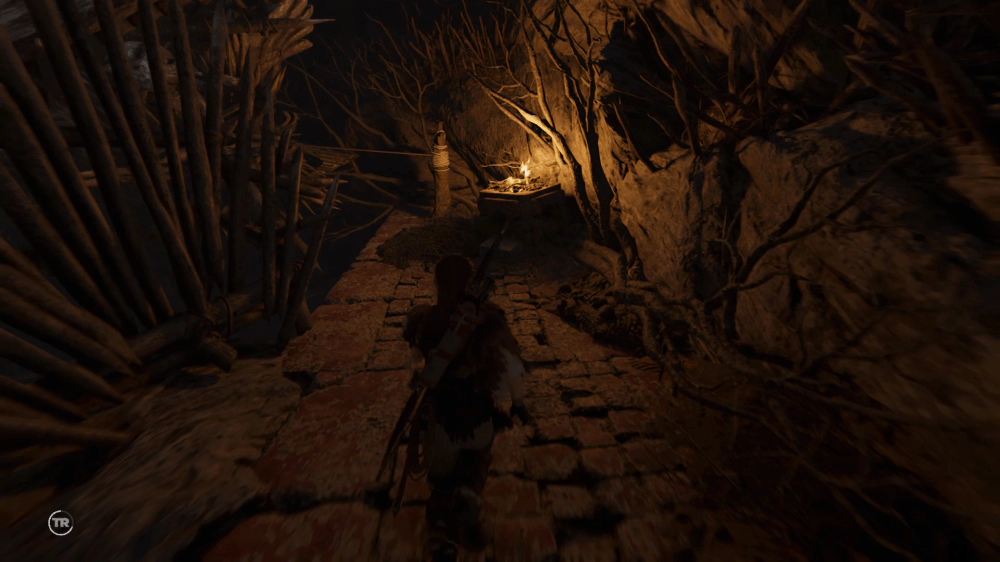
시작하면 건물을 반시계 방향으로 돌아서 90도 정도 돌면 앞으로 이동합니다. 그러면 언덕 아래 지형이 나오는데 재규어의 영역이므로 빠른 이동을 위해 우측의 나무를 타고 이동합니다.
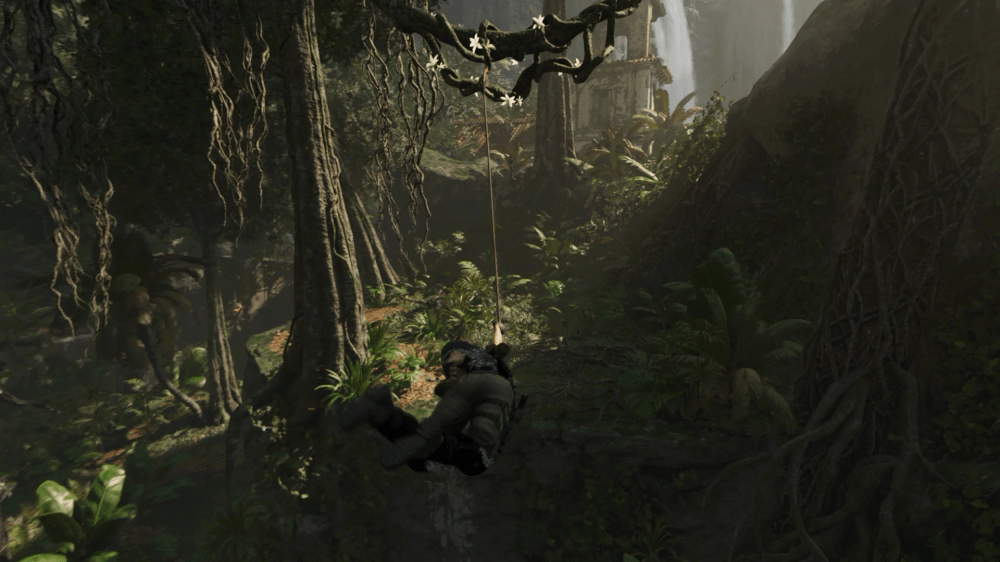
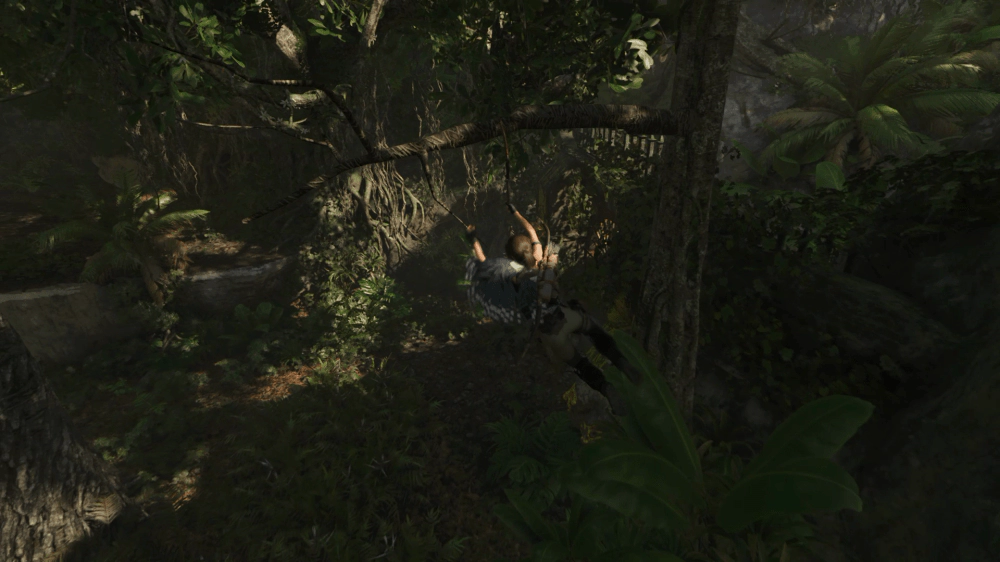
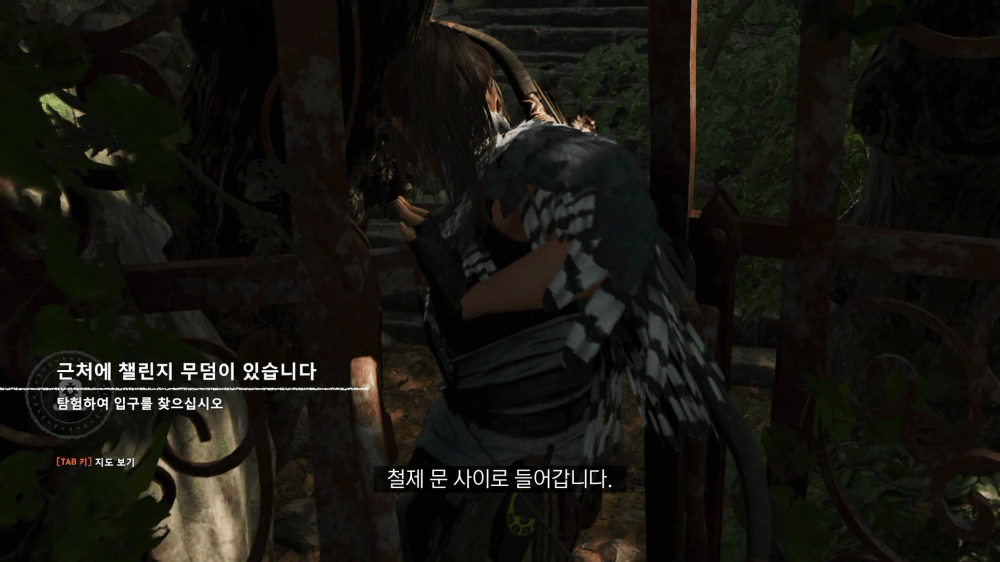
나무를 타고 갈고리 도끼를 이용해 언덕에 올라선 뒤, 해당 지점 안쪽에서 다시 한 번 갈고리 도끼를 이용해서 날아가 떨어지면 바로 앞에 철문이 있습니다. 안으로 들어갑시다.
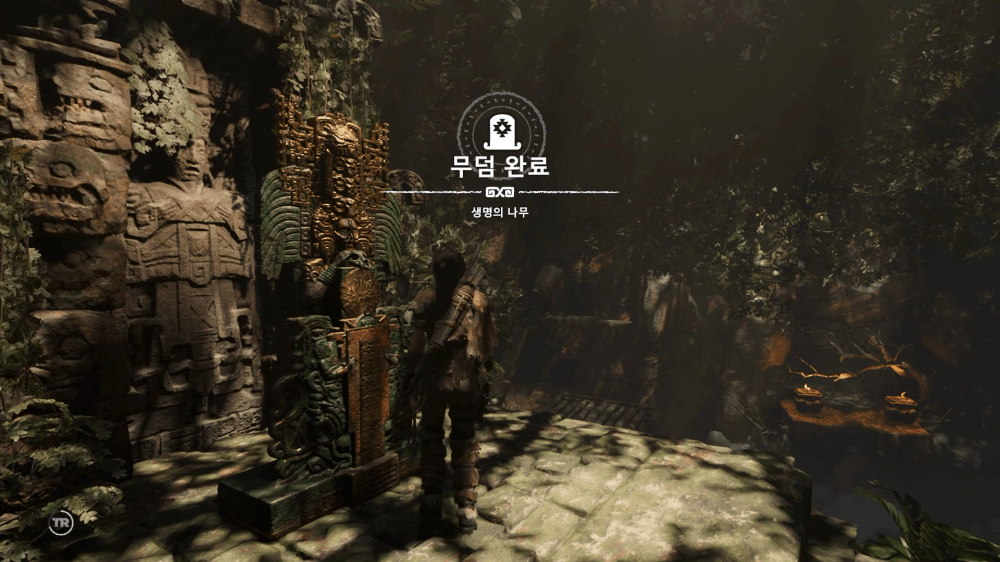
생명의 나무
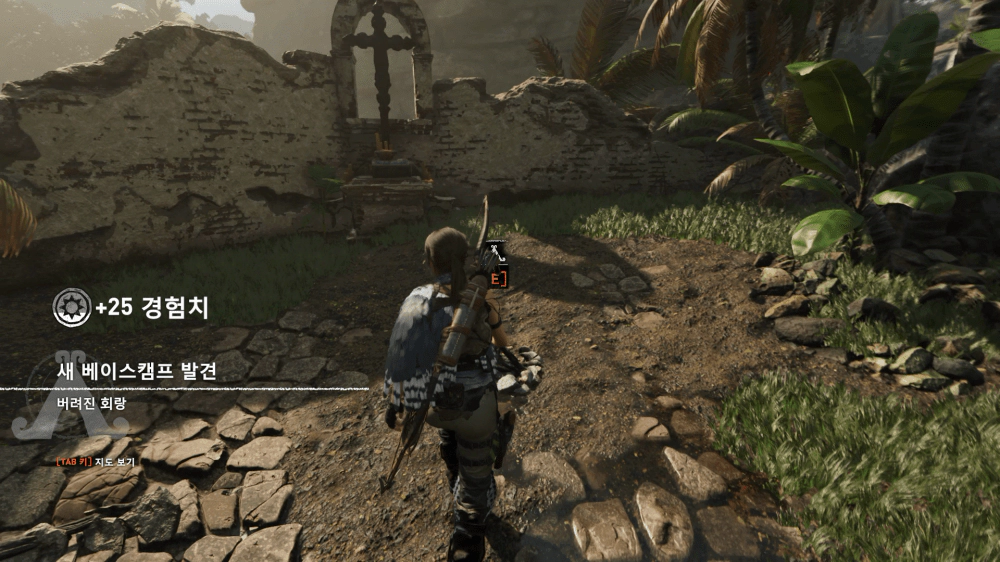
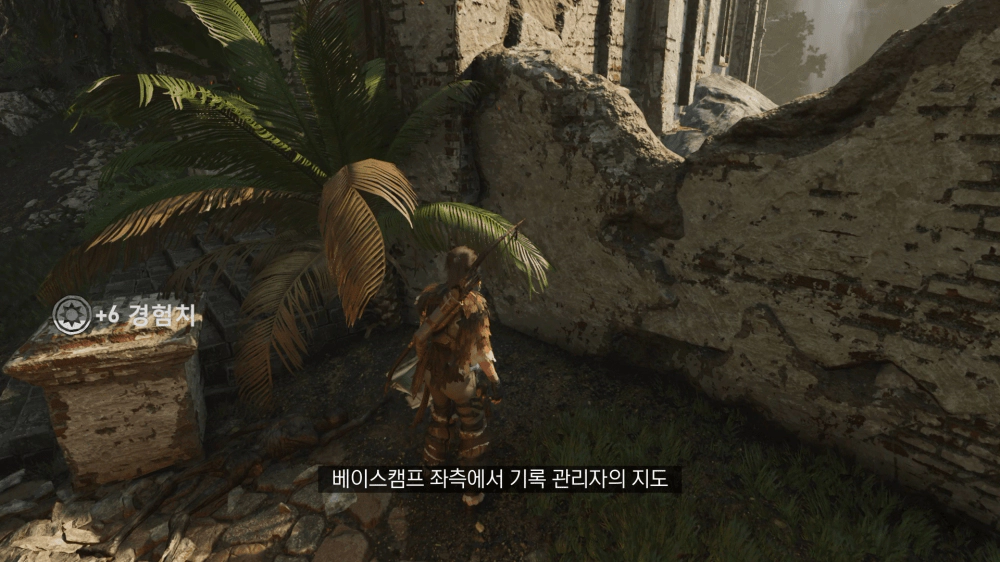
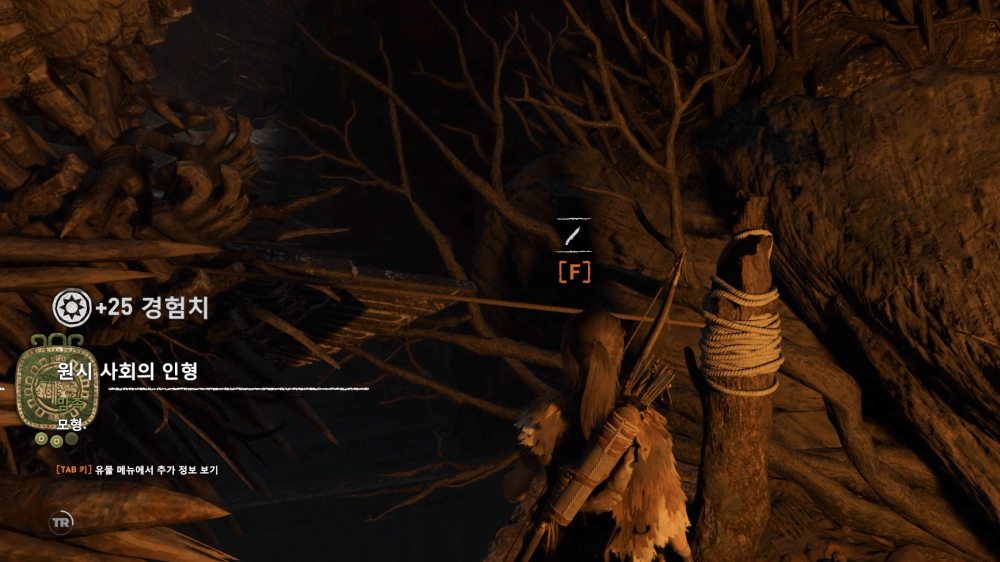
들어가면 우측에 베이스캠프가 있으니 활성화하고, 좌우에서 기록 관리자의 지도와 유물을 습득합니다. 그리고 버려진 회랑 안쪽으로 이동.
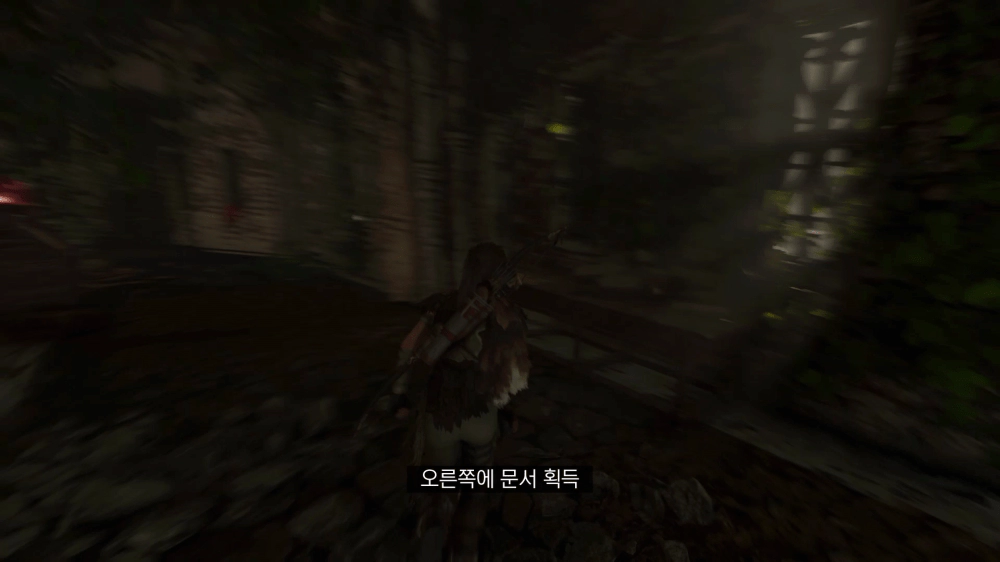
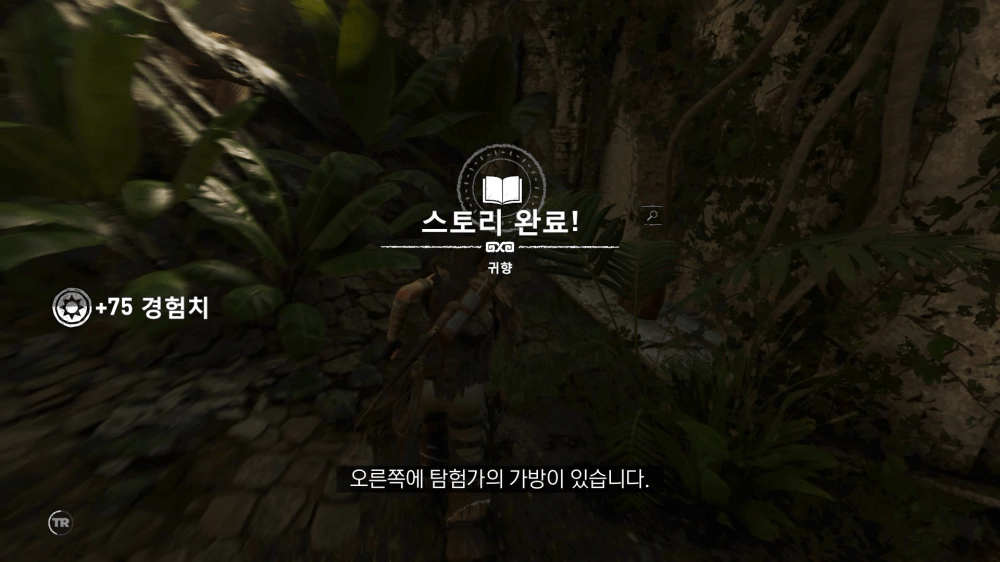
들어가자마자 우측 선반 위의 문서를 획득하고 안쪽으로 깊이 들어가 탐험가의 가방을 얻습니다.
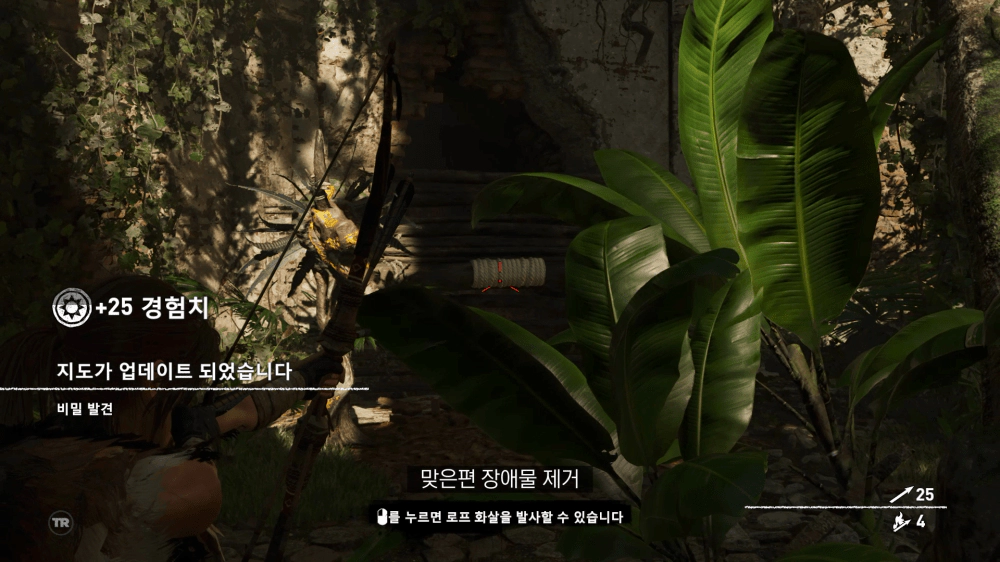
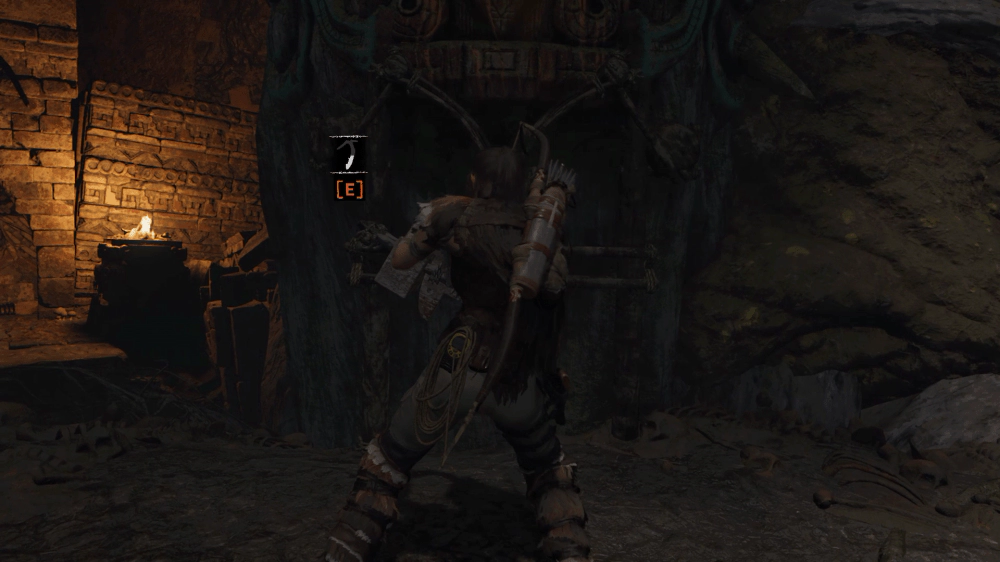
맞은편에는 장애물로 막혀 있는 지점이 있는데, 로프 화살로 제거하여 안으로 들어갑니다.

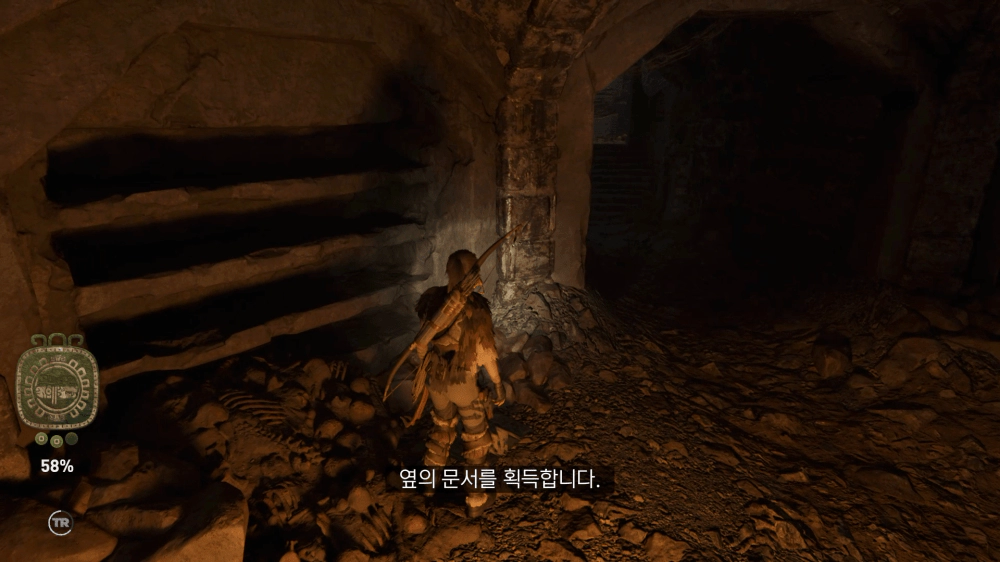
아래로 내려가서 안쪽으로 들어가면 또 베이스캠프가 있습니다. 활성화하고 옆의 문서를 획득합니다. 베이스캠프 앞에는 구덩이가 있는데, 암벽에 라펠을 걸어 아래로 라펠링합니다.
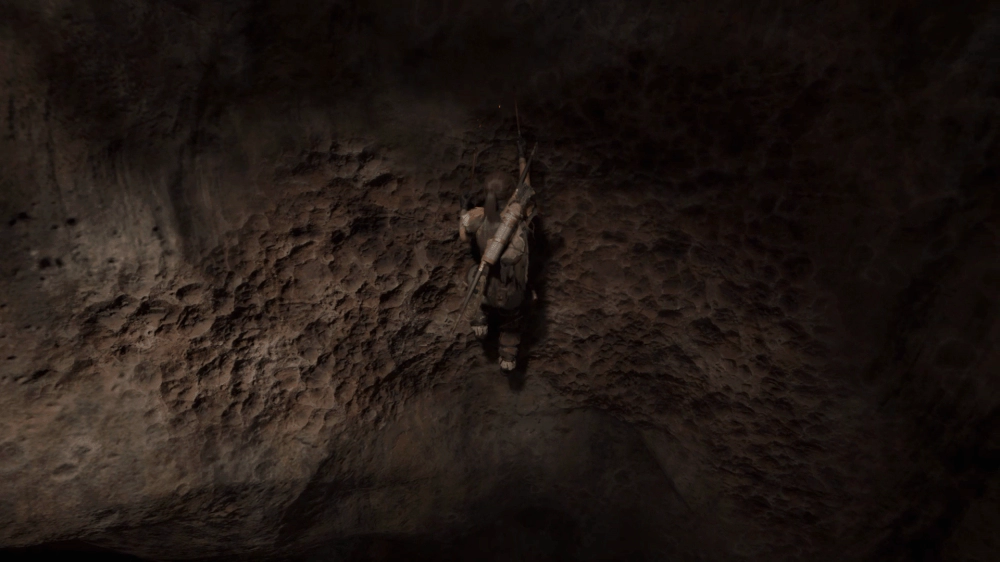
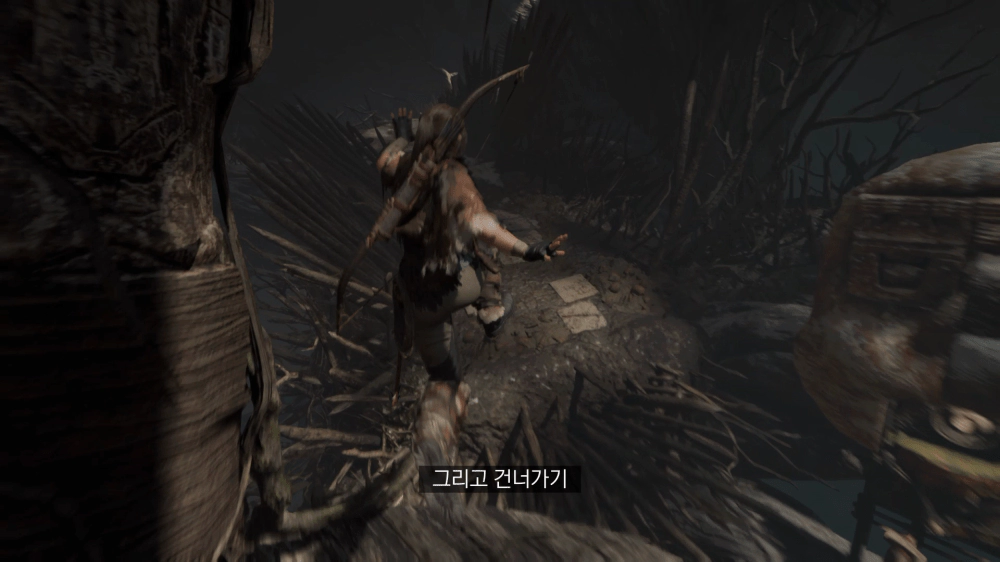
내려가서 라펠 흔들기로 건너편 땅에 착지. 계속해서 앞으로 나아갑니다. 암벽 등이 또 나오는데 이동하면 됩니다.
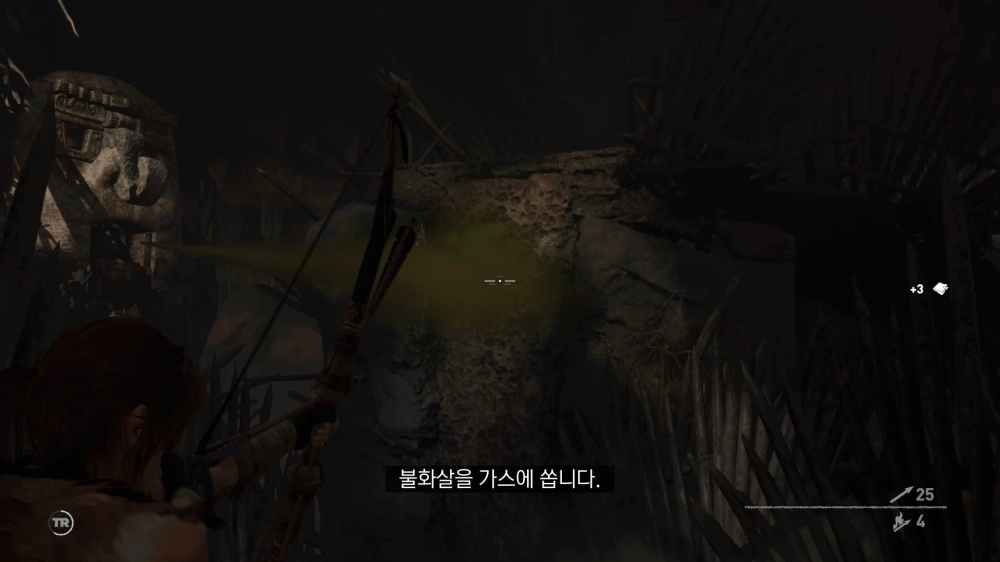
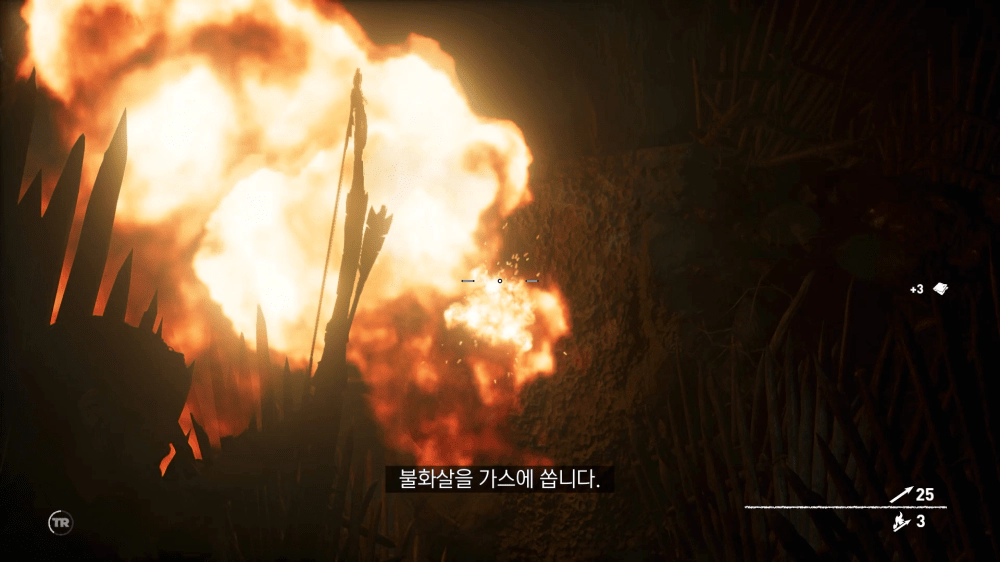
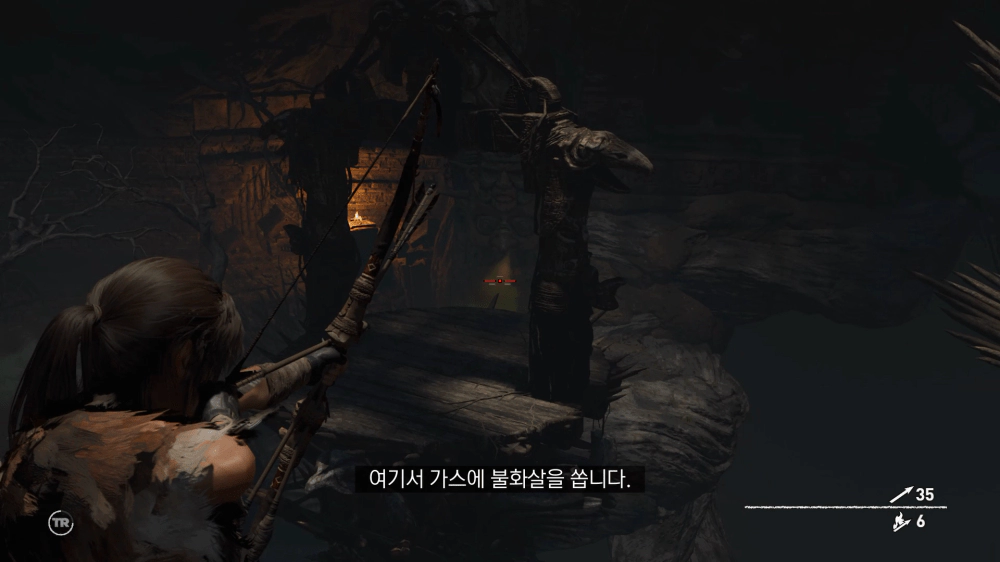
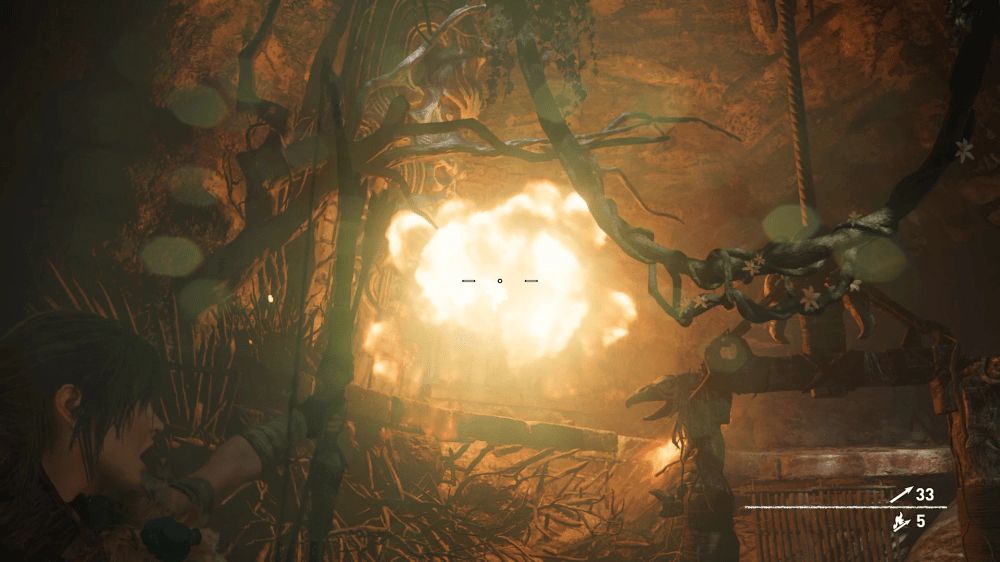
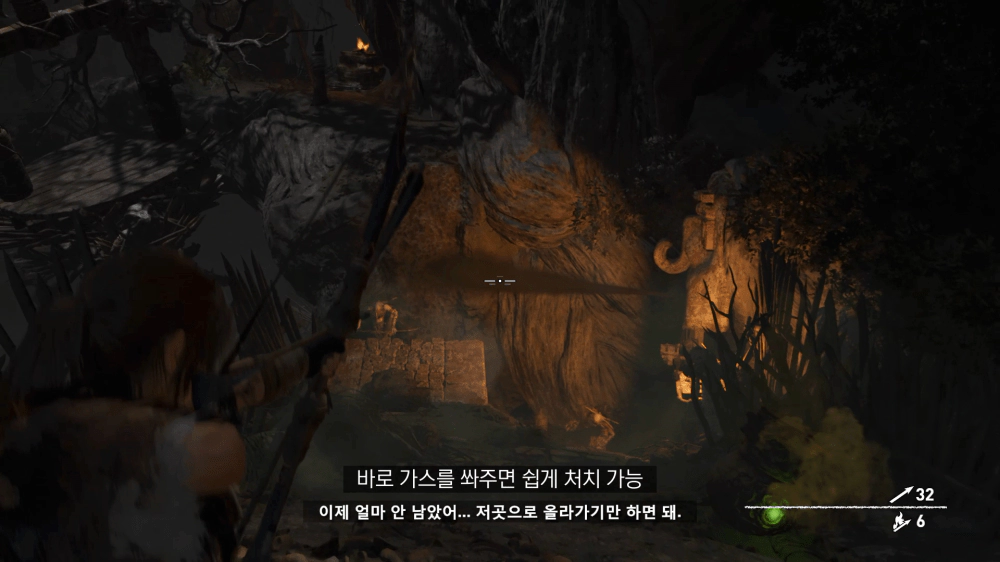
그리고 조각상의 입에서 가스가 뿜어져 나오는 지점이 나옵니다. 멀리서 불화살을 쏘면 가스가 터지면서 잠시 사라지는데, 그 사이에 지나갑니다. 너무 가까이에서 쏘면 본인도 피해를 입으므로 멀리서 쏘는 걸 잊지마세요.
다음 구간에선 조각상의 장치를 가동시켜 가스가 나오게 한 뒤 터트리는 것입니다. 터트리고 난 뒤에 지나갑니다.
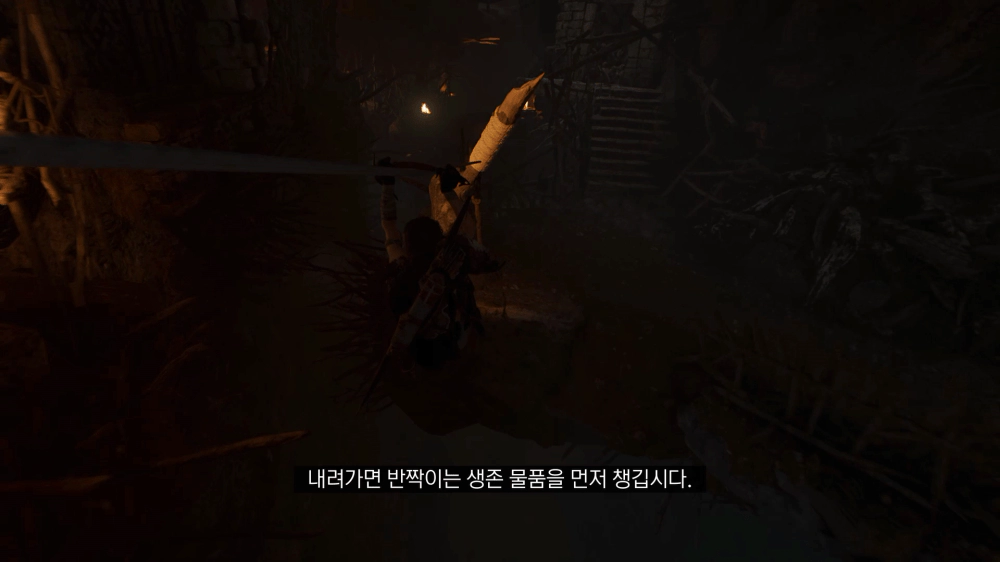
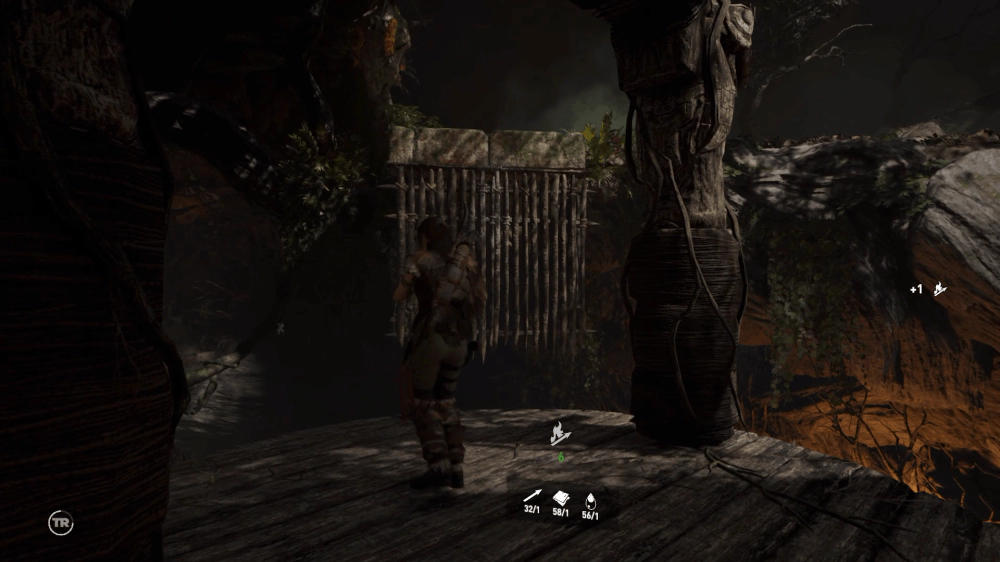
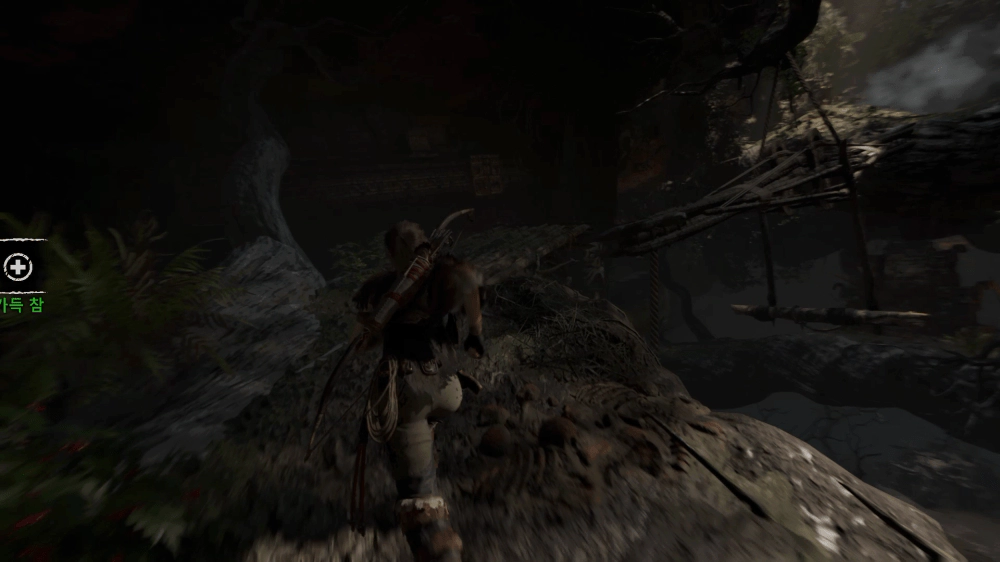
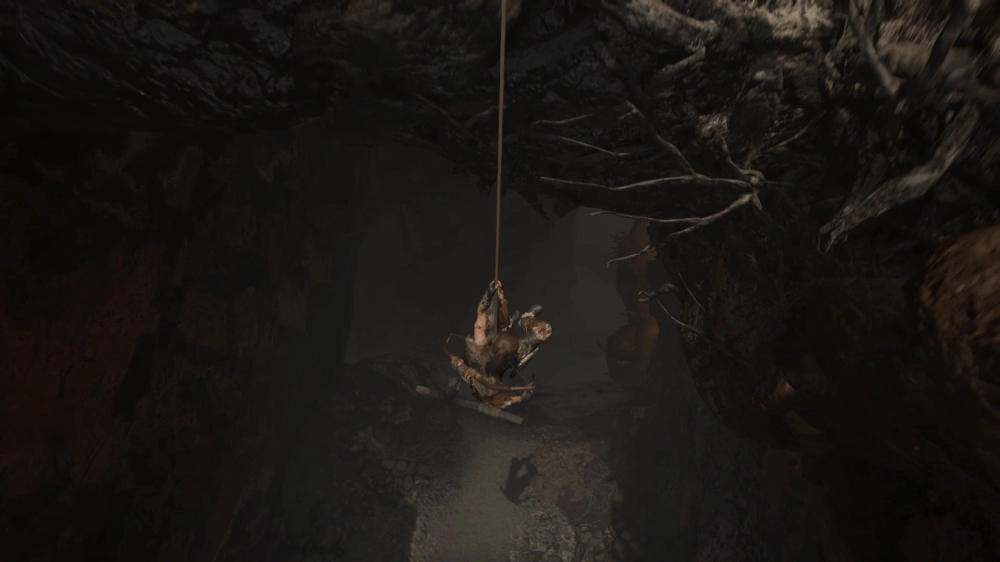
달리다보면 로프타고 아래로 내려가는 구간이 있는데, 우측에서 생존 물품이 반짝이므로 획득해주고 앞의 계단을 오릅니다.
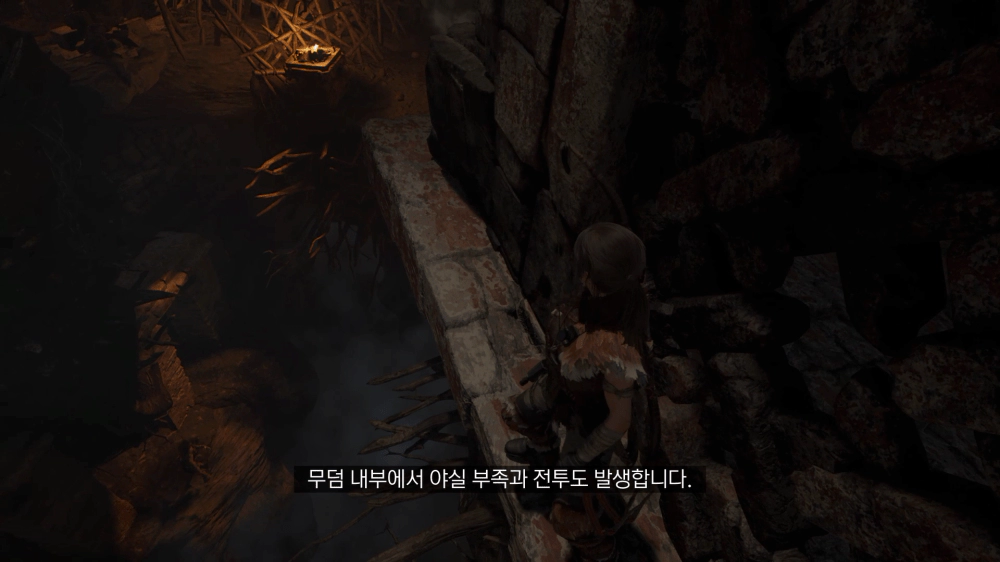
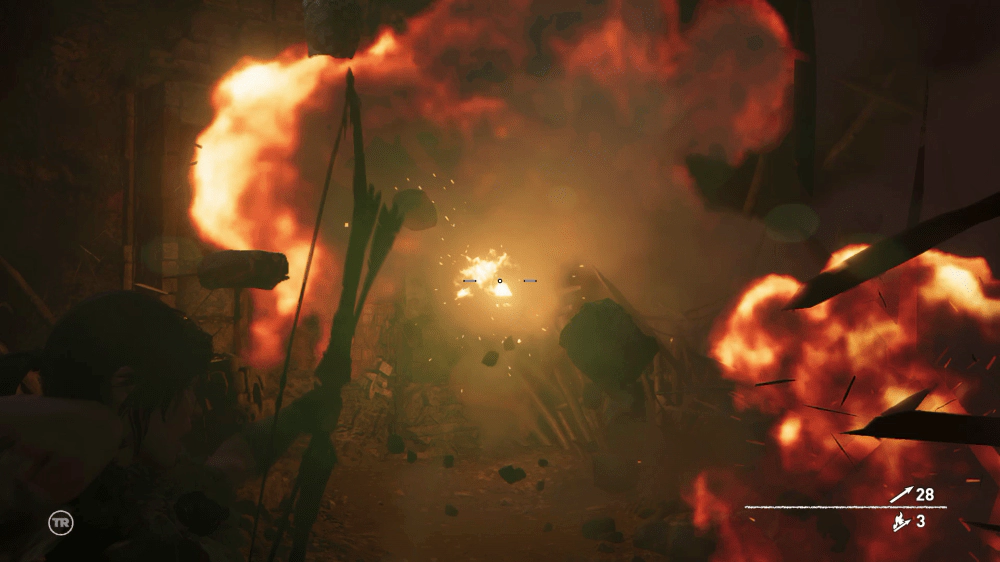
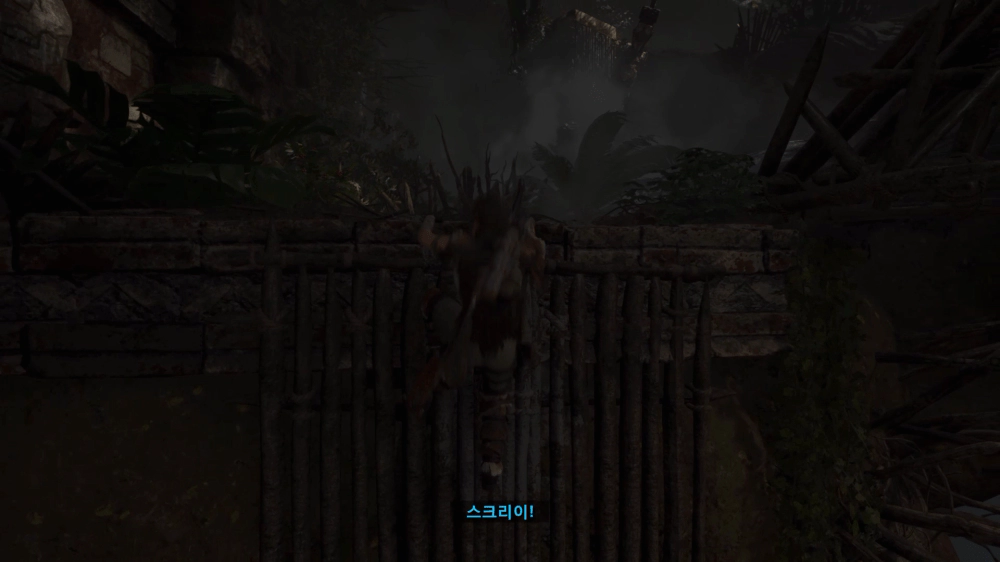
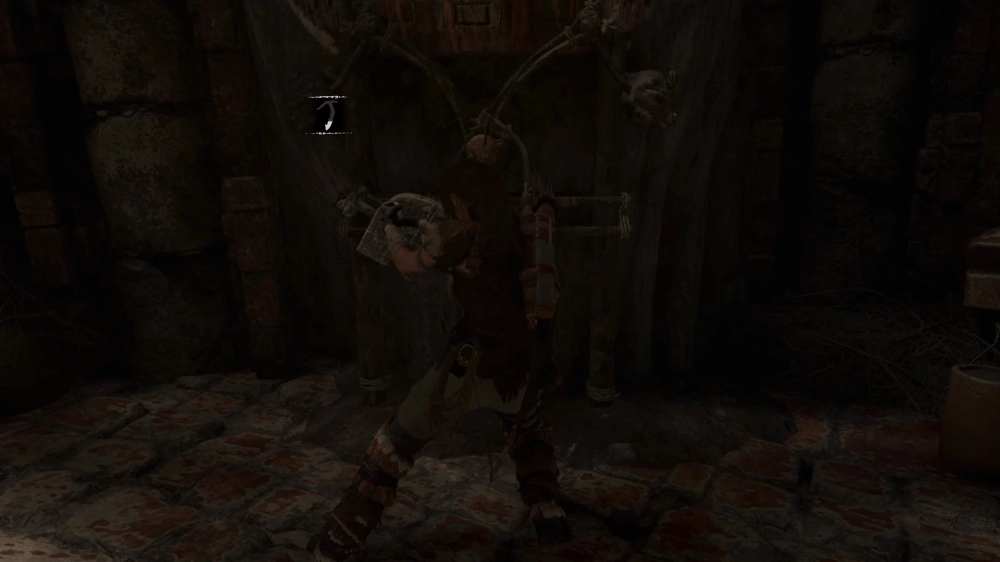
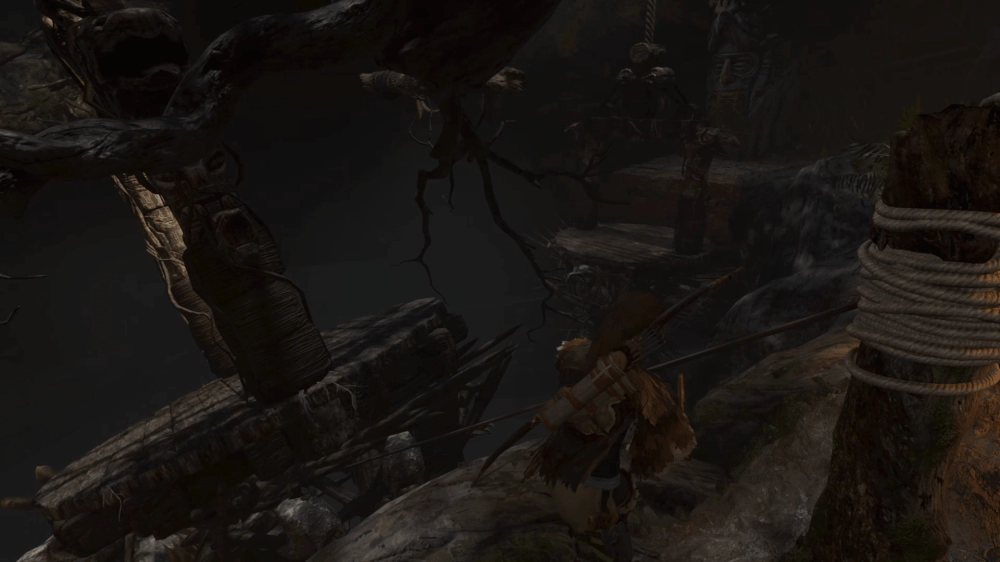
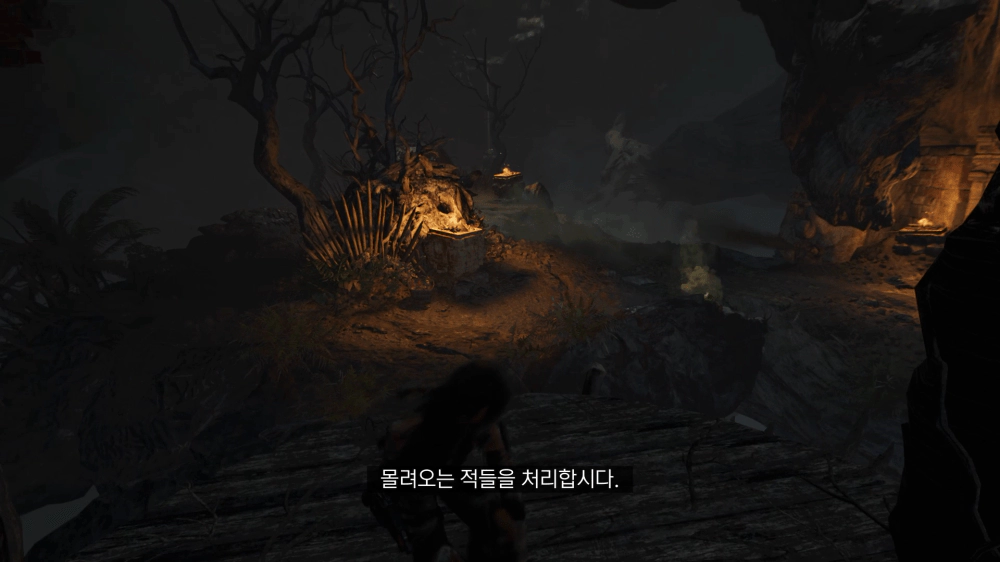
계단에 올라 돌출된 돌을 밟으며 이동하다보면 아래에 야실 부족원이 지나갑니다. 이후에는 야실 부족과 전투가 발생하므로 특수 화살 등을 잘 챙겨주세요.
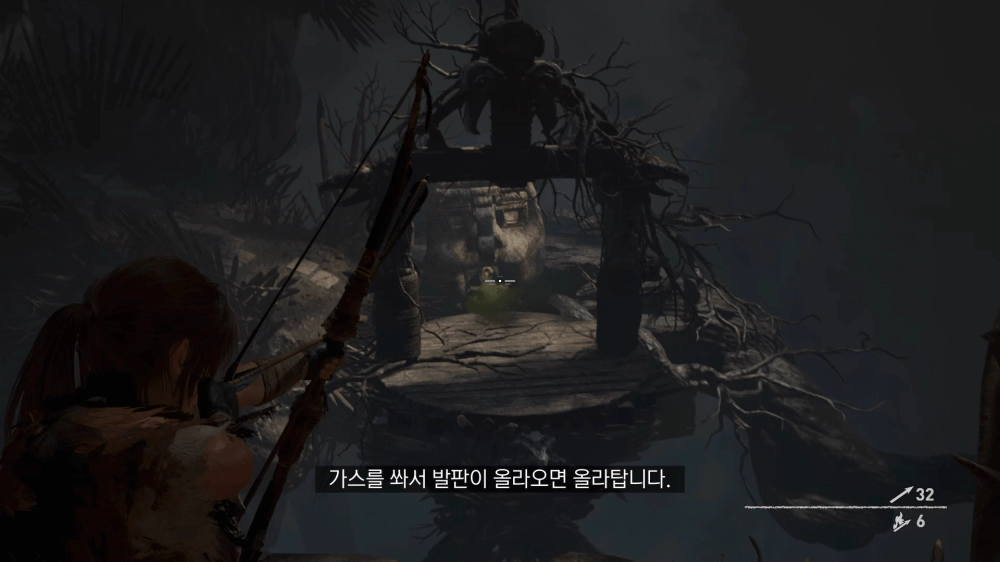
세 번째 구간은 가스를 쏴서 발판이 다가오게 한 뒤 올라타서 건너는 구간입니다. 여태까지는 튜토리얼과 비슷했고, 이제부터 시작입니다.
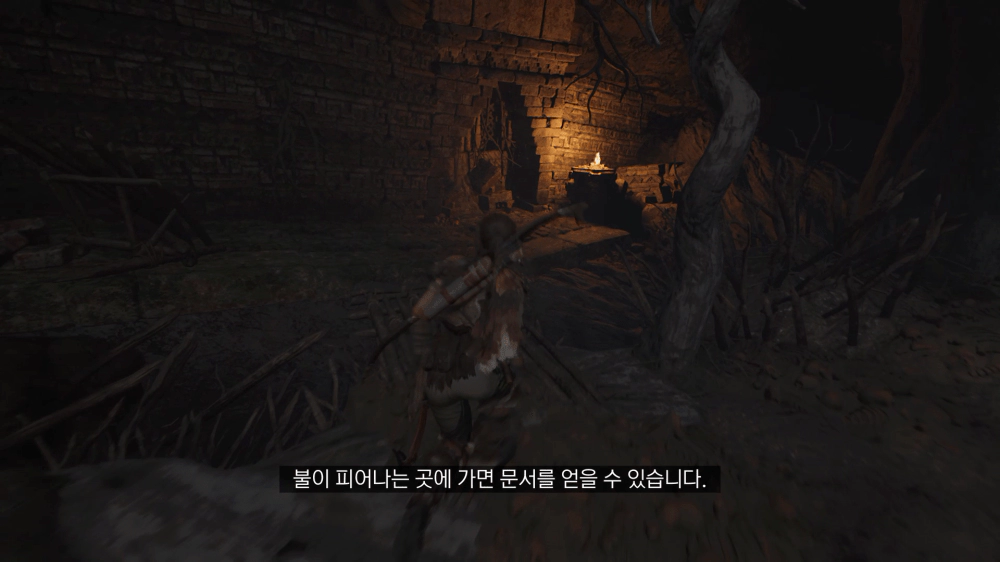
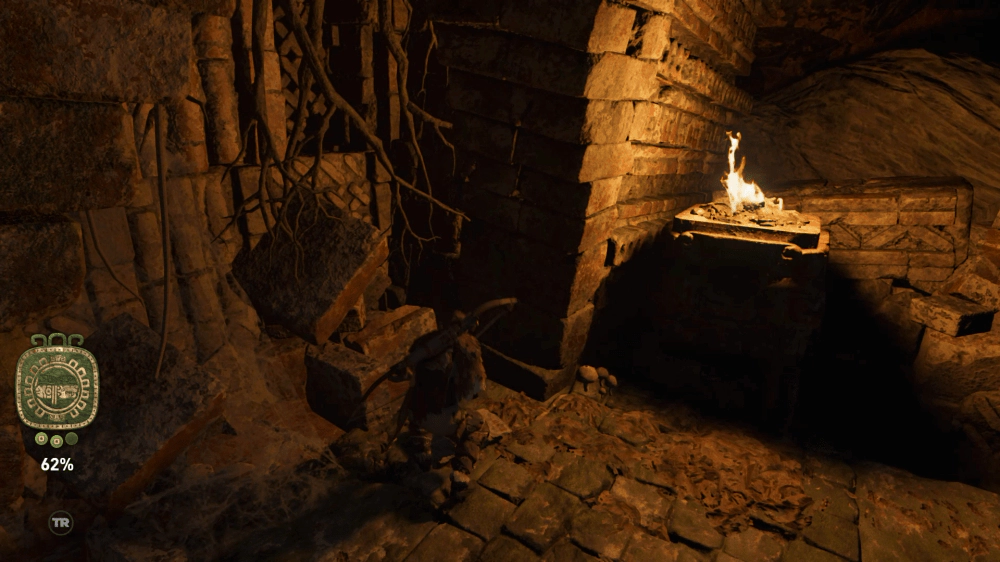
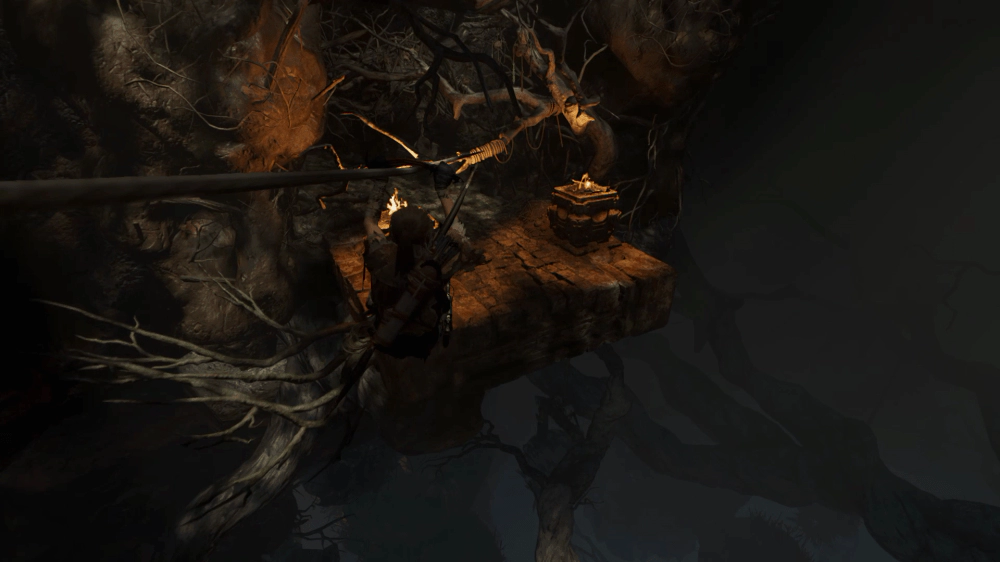
안쪽으로 들어가 아래로 내려가면 건너편에 화로에 불이 붙어 있는 지점이 있는데, 해당 지점에서 문서를 습득하고 나옵니다.
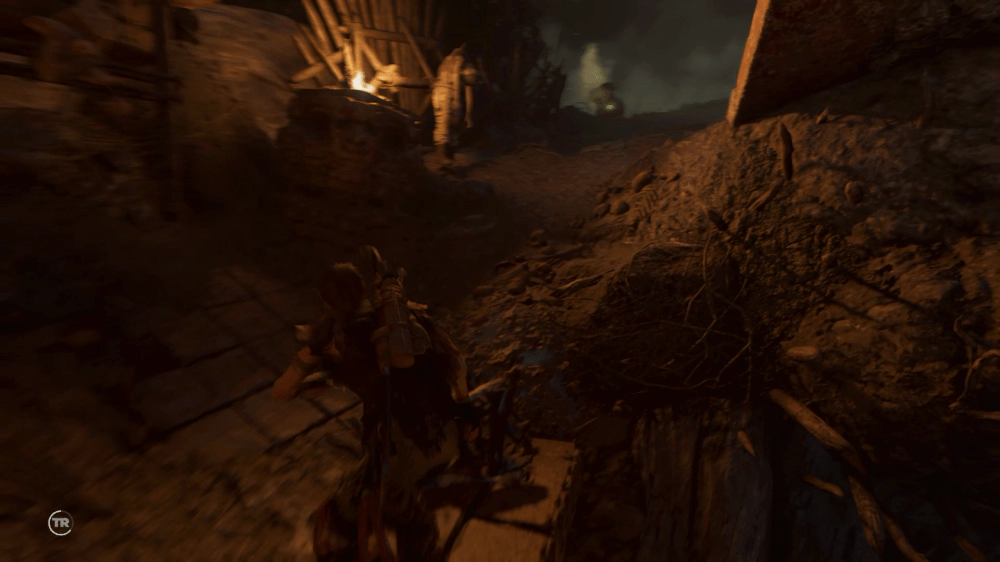
나오면서 왼쪽에 있는 장치를 작동하면 야실 부족이 접근해 있습니다.
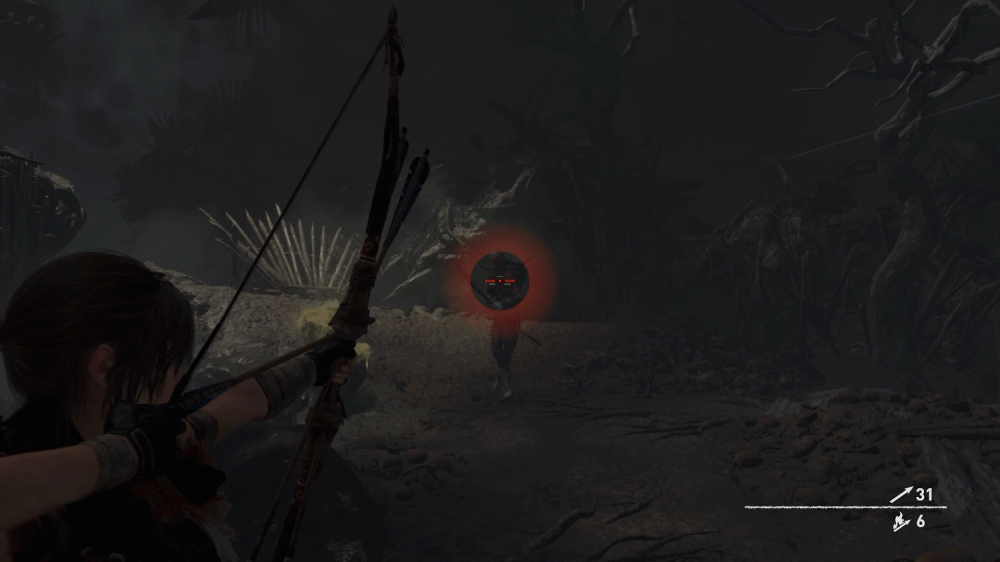
궁수1, 전사1을 처리하면 또 다른 전사와 궁수가 나옵니다. 총 4명을 처치하고 마지막 궁수가 나온 쪽으로 이동해서 벼랑 끝에 섭니다.
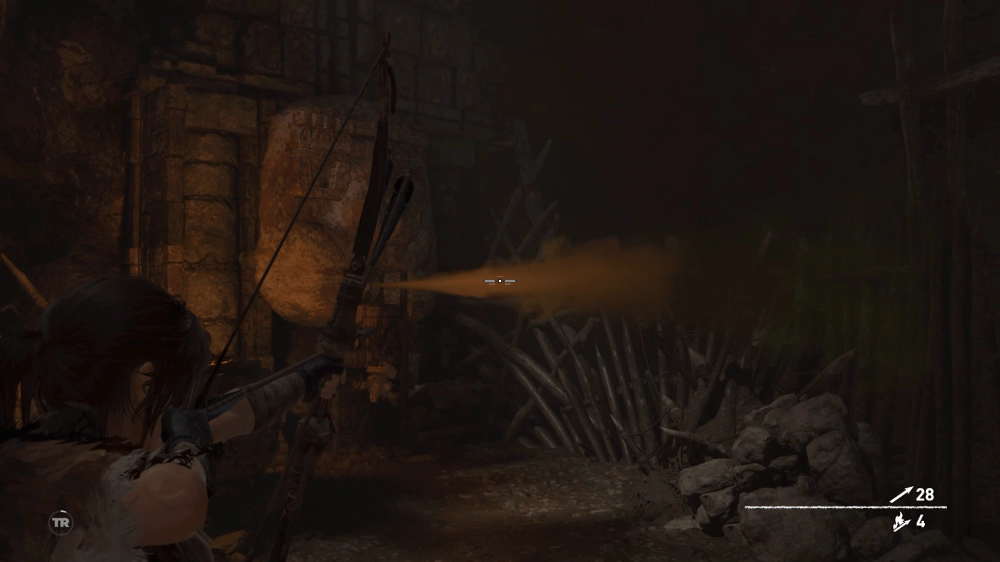
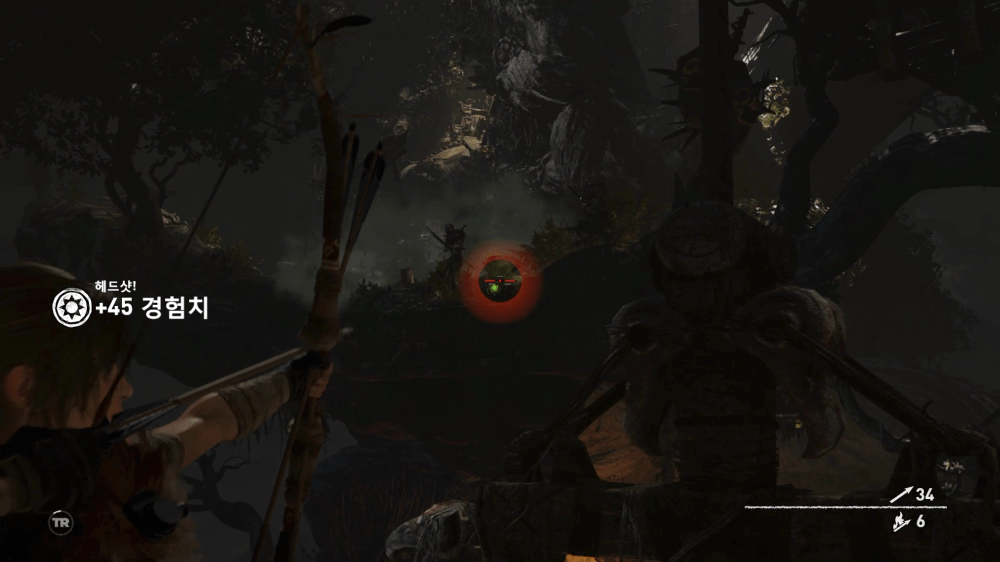
해당 지점에서 가스에 불화살을 쏴서 발판을 띄운 뒤 다시 발판이 내려가기 전에 재빨리 건너갑니다.
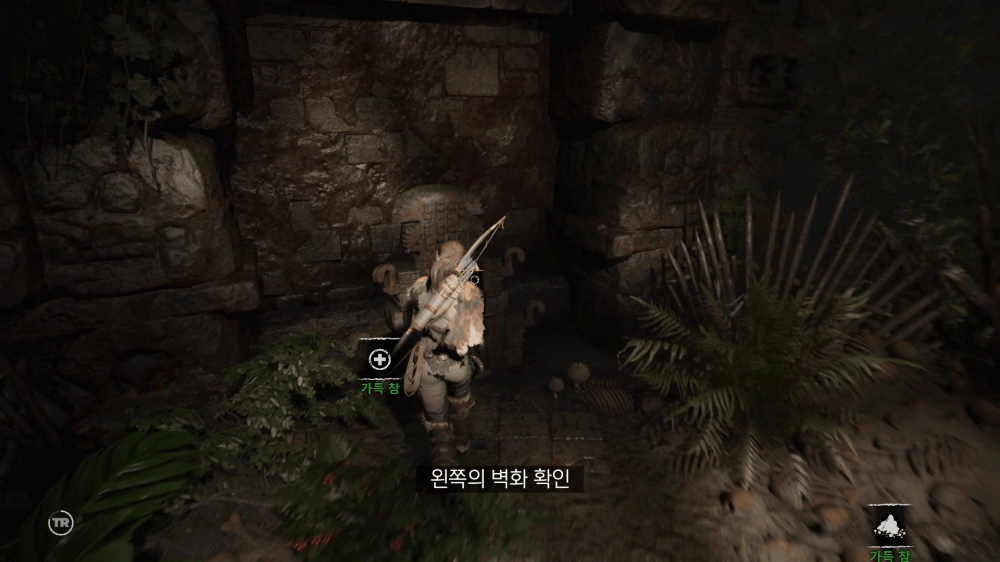
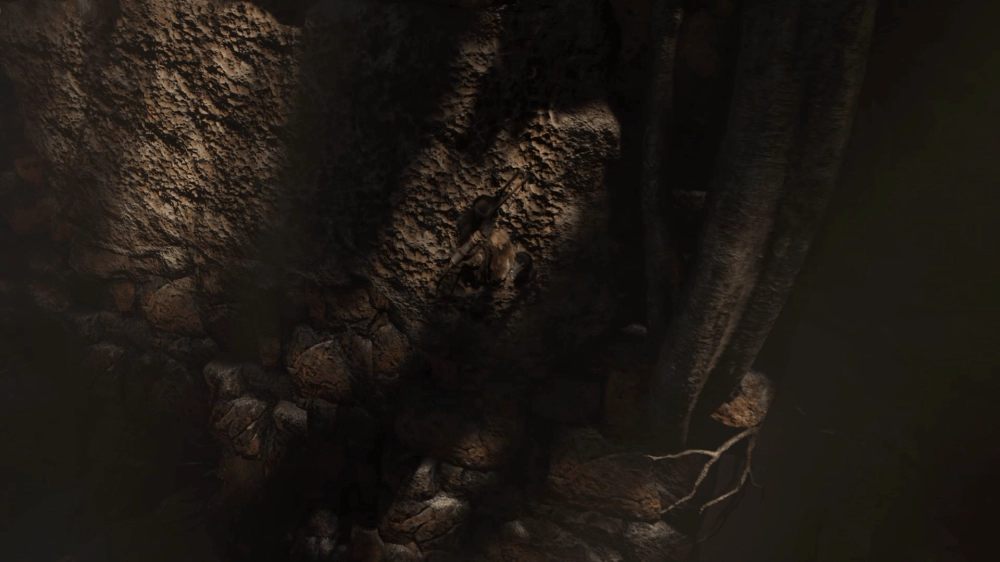
다음 발판에선 벽을 타고 오른 뒤 올라간 지점의 벽화를 확인하고 계속 이동.
안쪽의 장작 밑에서 문서를 얻을 수 있습니다.
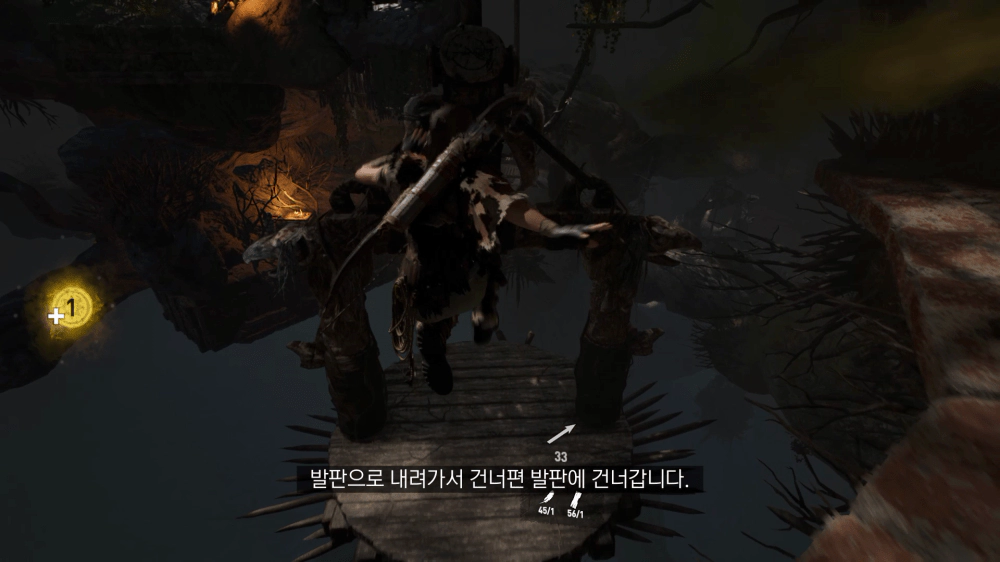
그리고 로프를 끊은 뒤, 발판이 제자리에 도착하면 밟고 갈고리 도끼를 이용해 건너편 발판으로 건너갑니다.
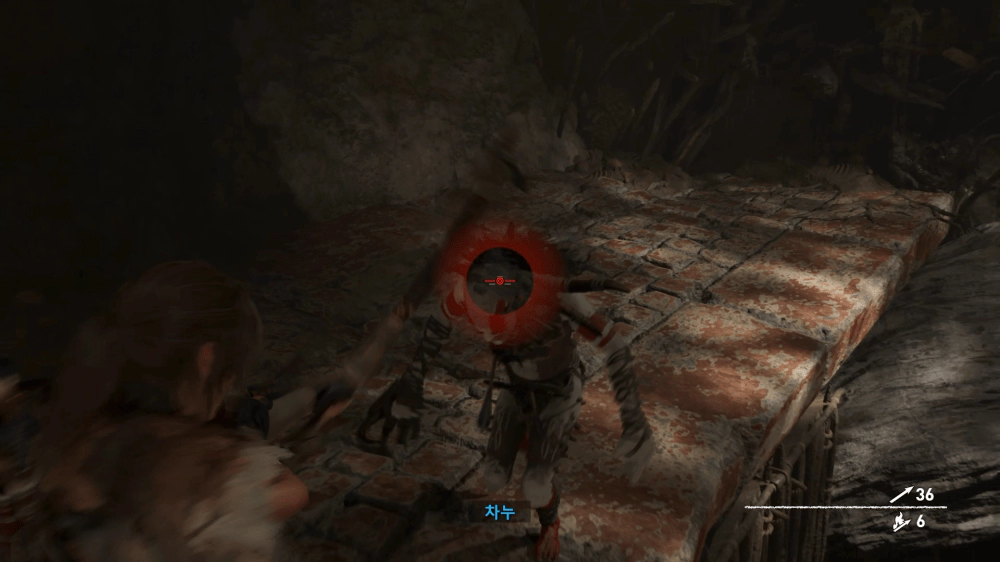
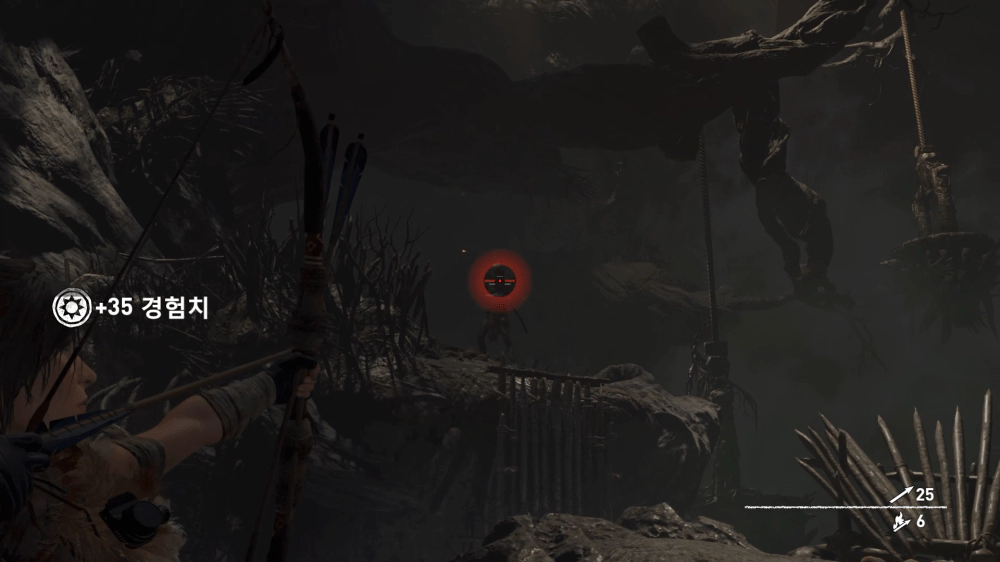
해당 지점의 장치를 작동하면 전사 1명과 궁수 2명이 나타납니다. 전사는 쏴서 처리하고 궁수 2명은 사이의 가스통을 터트려 처치합니다.
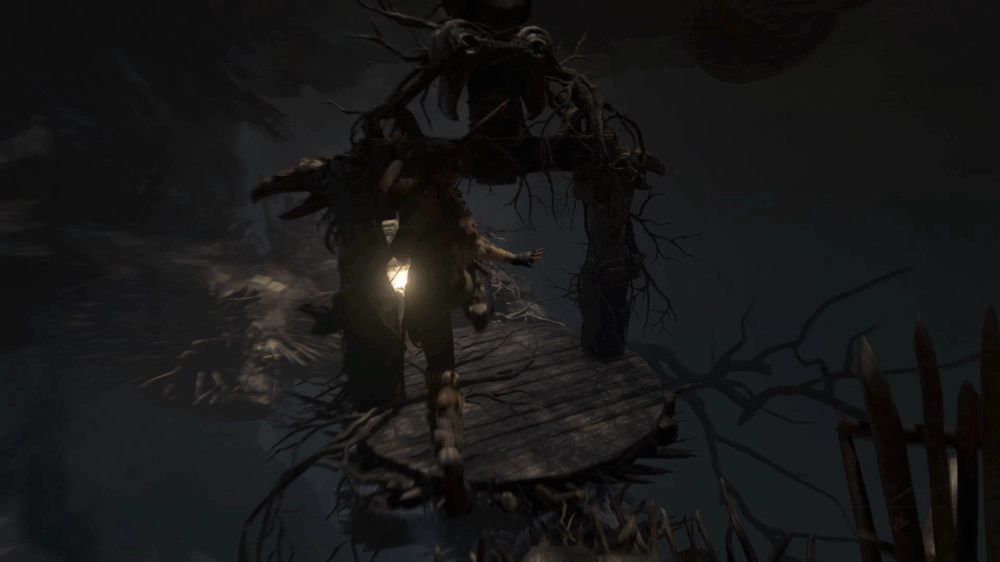
건너편 발판으로 이동해 조각상의 가스를 터트리면 발판이 올라가며 옆의 벽을 타고 오를 수 있습니다. 타고 올라가면 또 전투가 발생하니 준비하세요.
처음 나타나는 2명의 적은 접근하기 전에 가스를 터트려 쉽게 처치할 수 있습니다. 처치한 이후엔 가스가 사라진 곳의 암벽을 타고 위로 올라갑니다.
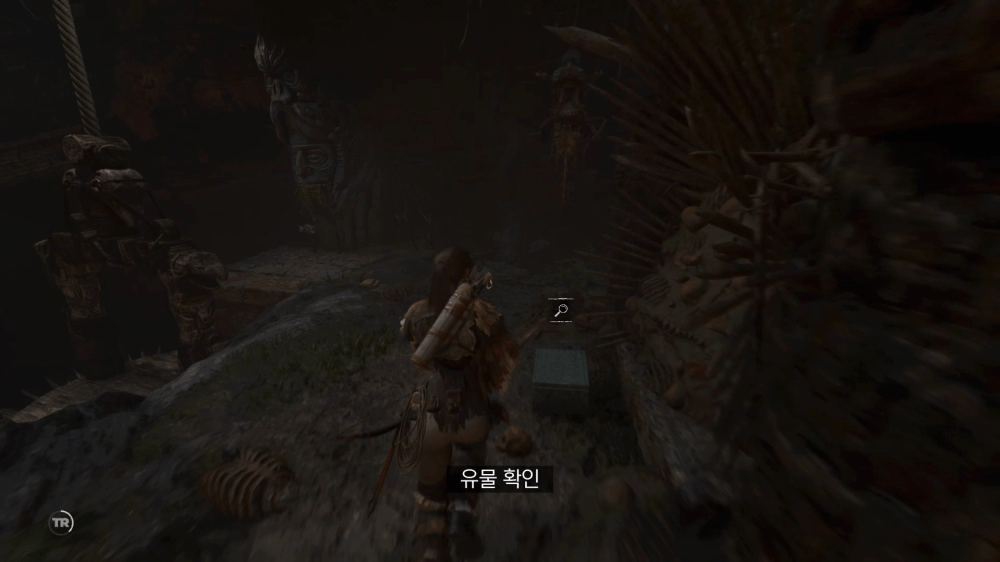
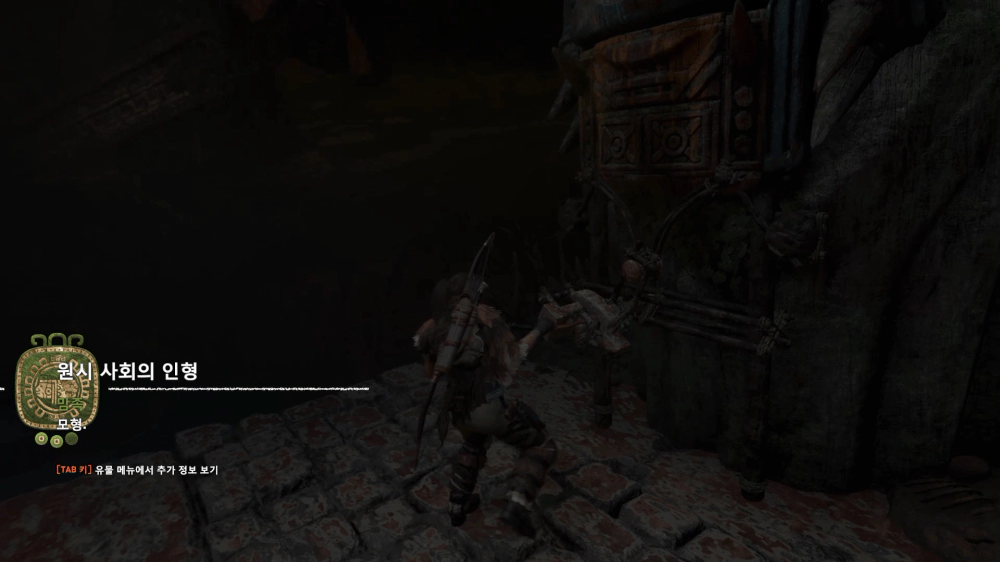
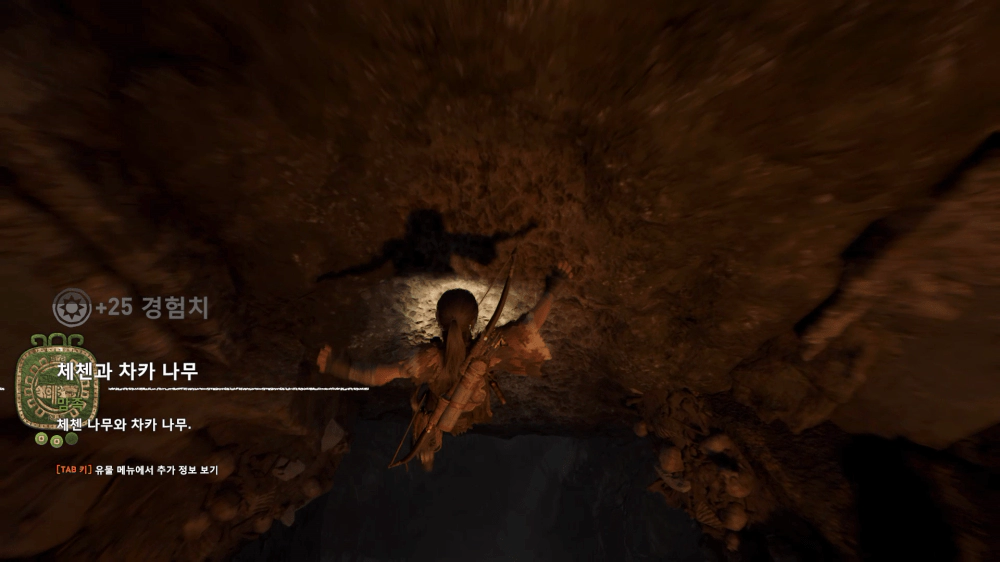
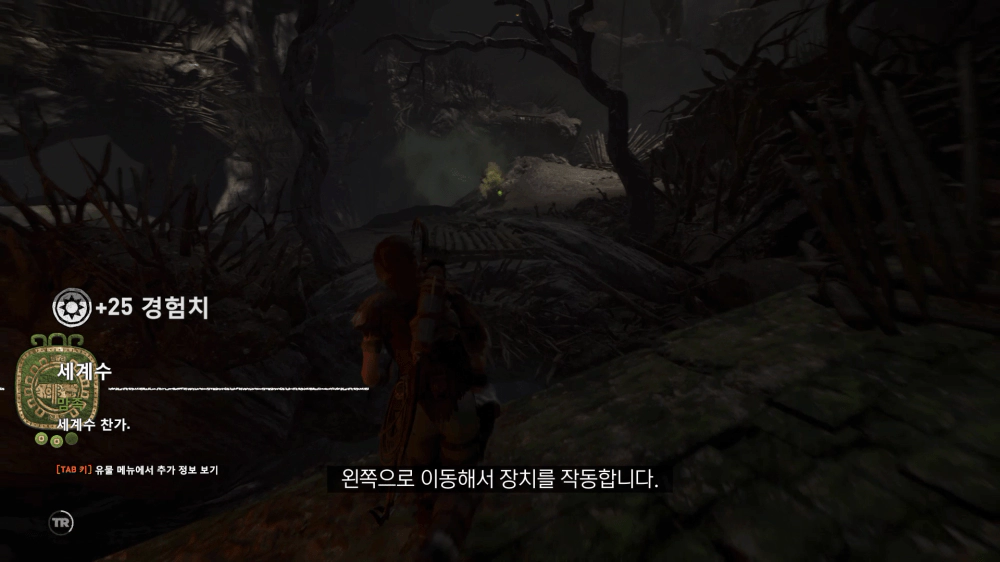
로프를 잘라 발판 하나를 풀어주고 뒤의 유물을 확인. 또 안쪽으로 들어가 장치를 작동합니다.
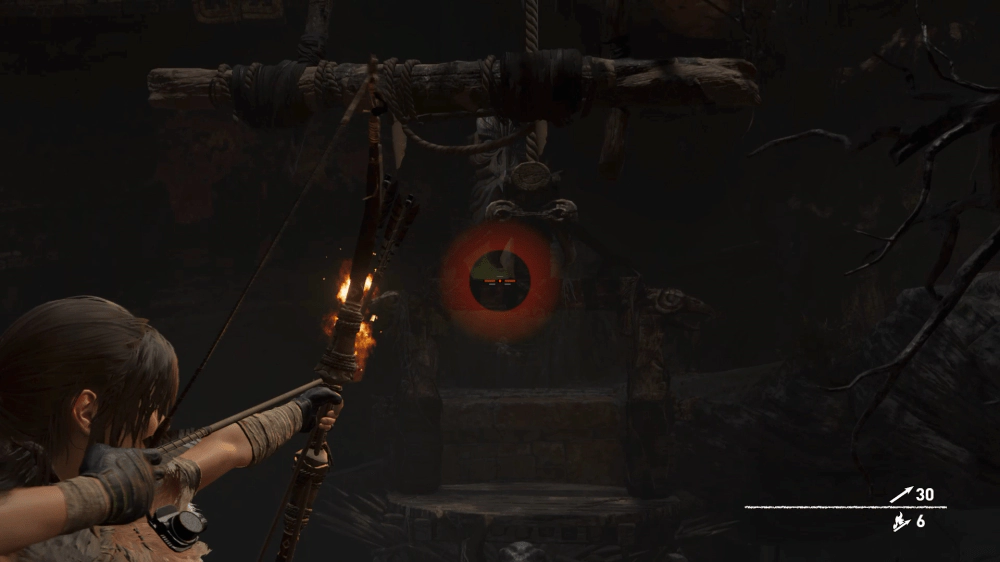
아까처럼 건너편 발판으로 넘어가 가스에 화살을 쏘면 장치가 흔들리며 발판이 추락합니다. 그러면 야실 부족원들이 나타나는데, 여기서 가스에 화살을 쓰거나 주변 가스통을 터트려 처리합니다.
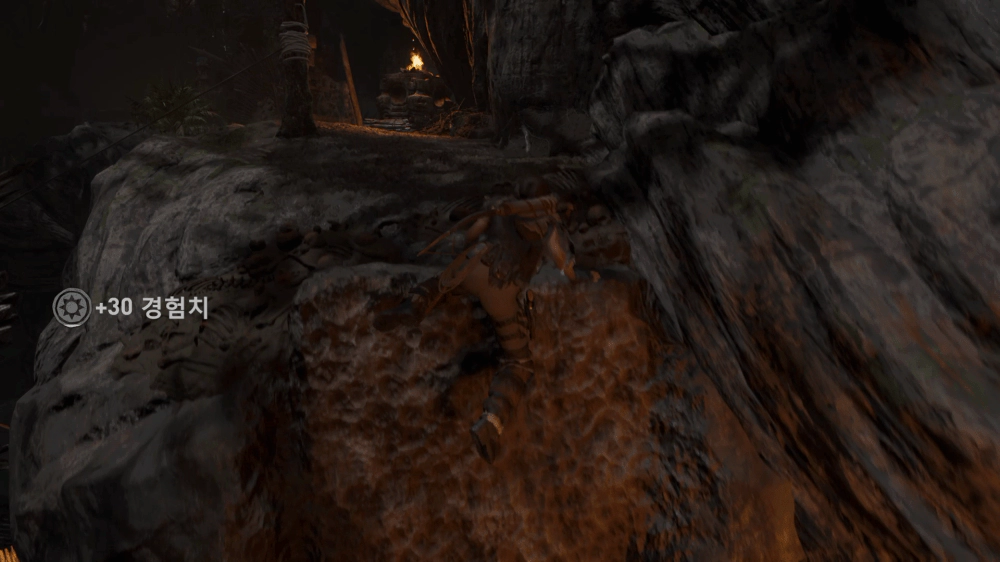
모두 처리 했으면 위로 올라가 암벽 반대 방향으로 이동합니다. 발판이 묶여있던 나무가 충격으로 틀어지면서 길이 생겼네요.
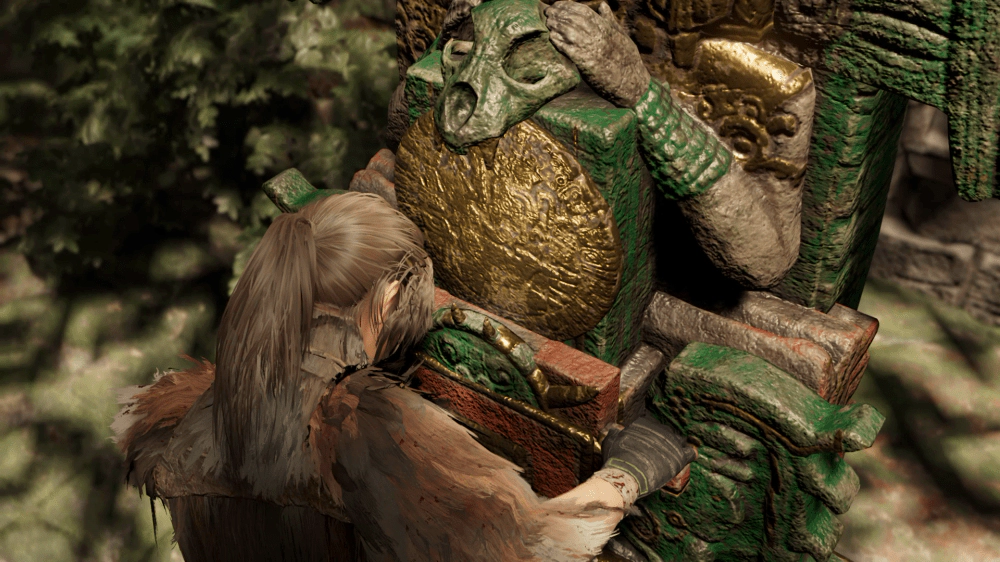
올라가면 보상이 보입니다. 계단 좌우에서 금광석 조각을 먹고 보상을 획득합시다.
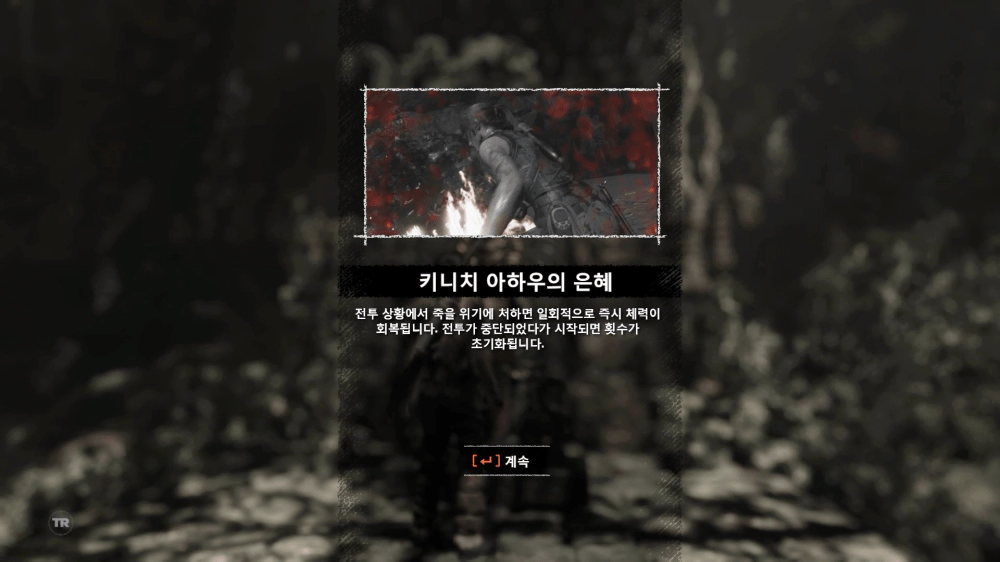
키니치 아하우의 은혜 획득.
우측으로 이동해 로프를 타고 내려갑니다.
앞으로 이동하면 라펠링하는 지점이 있는데, 여기서 뒤돌아보면 비취 광석 조각이 있으므로 챙기고 다시 진행하면 됩니다.

길을 달리고 암벽을 등반하며 이동하다보면 마지막에 약한 벽이 있는데, 뚫고 지나가면 베이스캠프가 보입니다. 해당 지점까지 도착했으면 끝.
복잡하네요 ㄷㄷ